This year for the first time in two decades, I decided to take my planner setup apart and turn it upside down—crazy, I know! Instead of using dated calendar pages and multiple planners (one for each life area—read more about it here, here, here, and here), I chose to strip it down to just one book and use a bullet journal ‘create as you go’ setup—read more about it here. The reason for my deviating so far off course was to eliminate the distraction layers so I could focus on the nitty, gritty details of my planning system. It’s only mid-July and it’s been quite a ride!
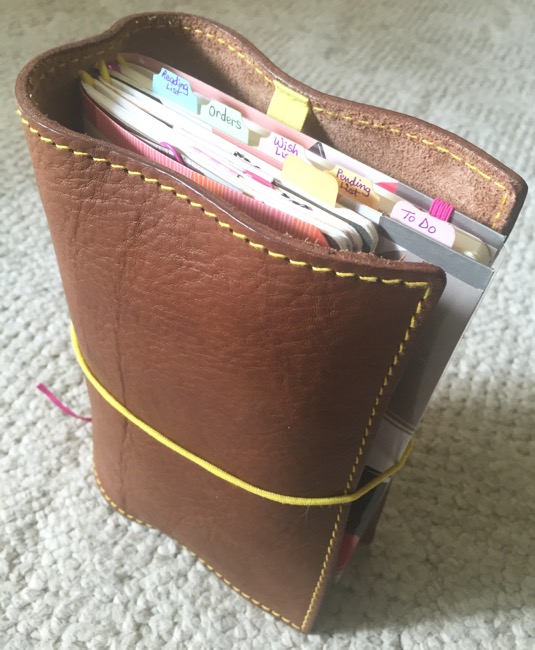
One Book July
To begin with, sticking to One Book July has been pretty easy (I used one planner for many years in the beginning of my planner journey) so it wasn’t as difficult as I thought it would be (but I do miss my other lovely planners!). I’m still using and carrying one book as my primary planner—a travelers notebook with 3 booklets (read more about my setup here)—and the only change I recently made was to the travelers notebook cover. This change was essential to support one critical element of my planning system: color coding (read more about it here). I’m now using a Naked Cow A5 Artist travelers notebook which has 2 built-in pen/pencil pouches to carry my fountain pens and the markers I use to draw my weekly bullet journal layouts.
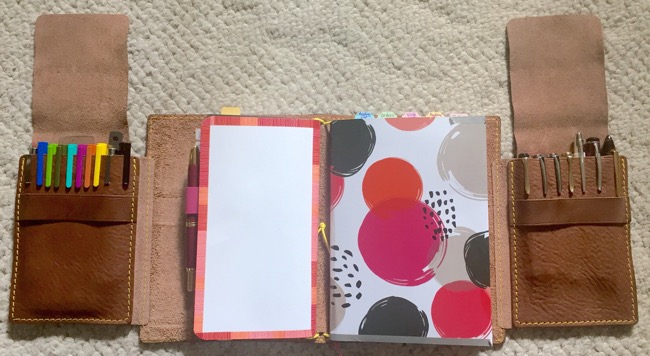
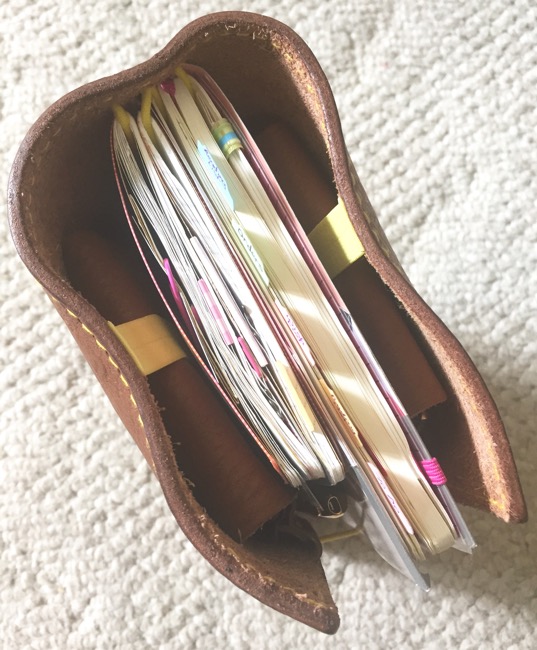
As much as I love my planner collection and using multiple planners (and switching up the covers every season!), I’m enjoying the simplicity and convenience of using just one planner again. 🙂
Bullet Journal Experiment
I began my Bullet Journal Experiment in mid-June and, let me tell you, it’s been quite an experience! One thing I didn’t expect was that there’s a lot of math involved: counting the number of vertical and horizontal boxes on my grid/dot paper to calculate how many evenly spaced boxes I can create when designing next week’s layout—yes, I’m a perfectionist and have a thing for symmetry, not a good combination! Then there’s the brainstorming process involved when trying to decide how the weekly layout should look, what sections you need or don’t need, what items you need to track or not, and how it should look overall (and hoping you draw it right the first time!). To clarify, the traditional bullet journal system is actually a very simple, text-based setup (check out the video here) so to avoid any confusion, I want to make it clear that I’m using a ‘bullet journal inspired’ layout developed by the many wonderful, creative people in the planner community. Fundamentally, I’m a visual learner so image, shape, and color elements embedded in my weekly layouts stimulate my brain more than just a page full of text.
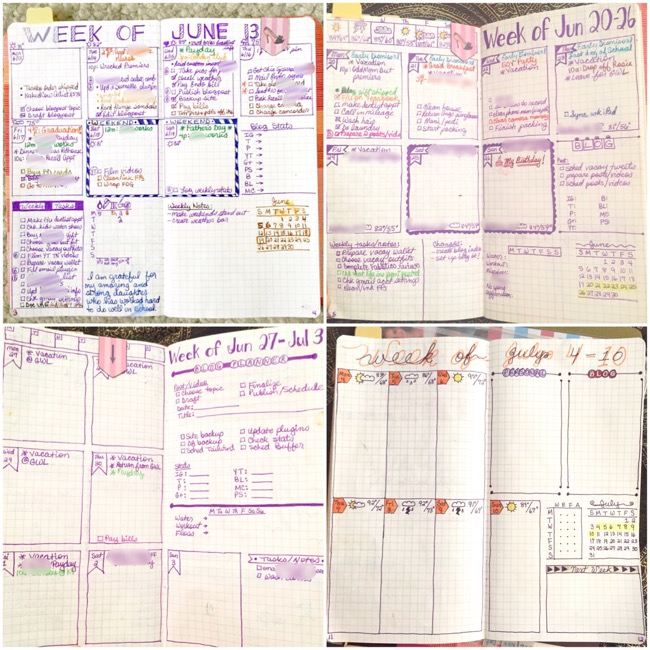
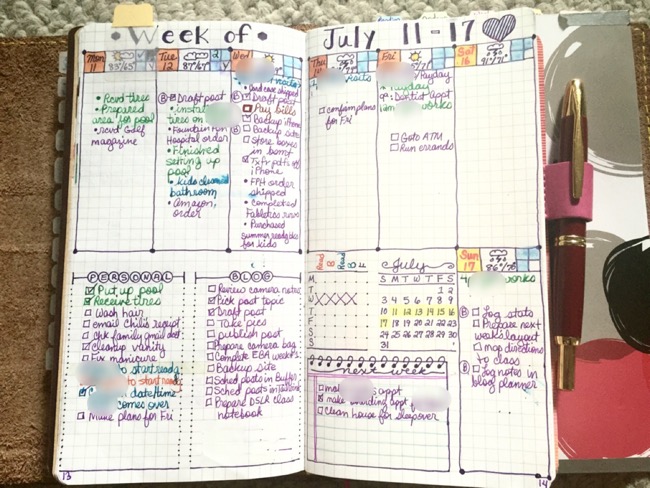
The biggest adjustment for me, however, has been not having any future dated weekly pages—ugh! I’m constantly planning things in advance and thinking ahead so whenever something popped into my head, I would turn the page and—{cue screeching car tires}—it was blank. What do I do? What do I DO?! Ok, confession time. Since the birth of my children (two of them), my memory has not been as good as it was so to be honest, ‘if it’s not written down, it doesn’t get done!’ That said, I write EVERYTHING down so you see, I HAD to find a way to set up my bullet journal system to accommodate all forms of forward planning. And, once again, the bullet journal community came to the rescue. 🙂
I learned about the Calendex, Alastair Method, and saw many layouts that incorporated traditional calendar page elements—it was the best of both worlds! I even took some existing layouts and re-purposed them to fit my needs as well as came up with some hacks of my own. Keep in mind that my system started over 20 years ago and has evolved over time, constantly changing to include the best ‘golden nuggets’ from all the planners and systems I’ve ever tried so by now it’s my own, personal ‘Franken-planner’ system. In addition, I’m an extremely analytical person (as an IT Professional, I can’t help it!) so sometimes I may see a layout but my brain processes it in a different way. When this happens, I’ll re-purpose the layout to do something entirely different.
All that said, let’s jump in to see some of my favorite bullet journal layouts and hacks to-date!
Bullet Journal Hacks for Forward Planning
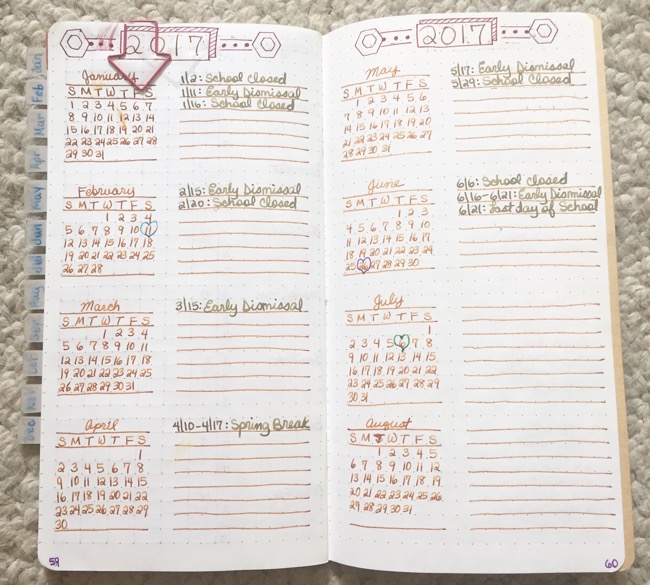
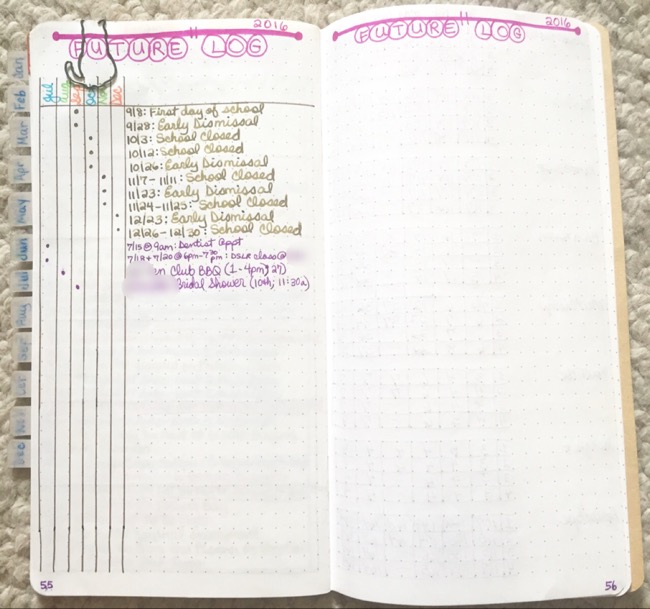
Let’s start with some of the existing layouts from the traditional bullet journal system. There’s the Future Log which is simply a spaced out listing of all the months for the current year to capture any future tasks, events, or appointments. I chose to use this layout but for next year, in this case, 2017. I spread out the months across 3 pages so I’d have plenty of writing space for the few potential entries I may need to capture and it has proven to be perfectly adequate. Unfortunately, I needed something with more writing space to forward plan in the current year.
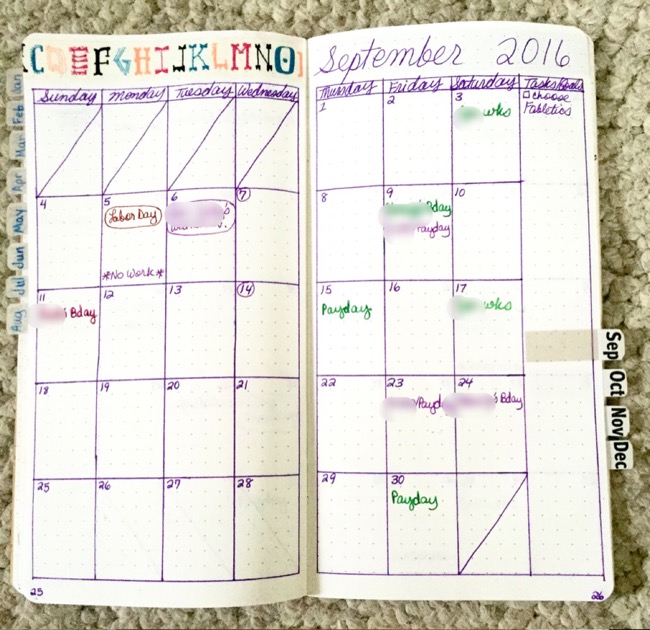
The bullet journal also uses a Monthly Log which is the days of the month, followed by the first letter of the weekday, in a vertical format. This is another layout I re-purposed because my brain could not interpret this format as a ‘monthly calendar’. Instead I opted to use a traditional month-on-2-page calendar for my monthly overview and to do high-level forward planning for the current year.
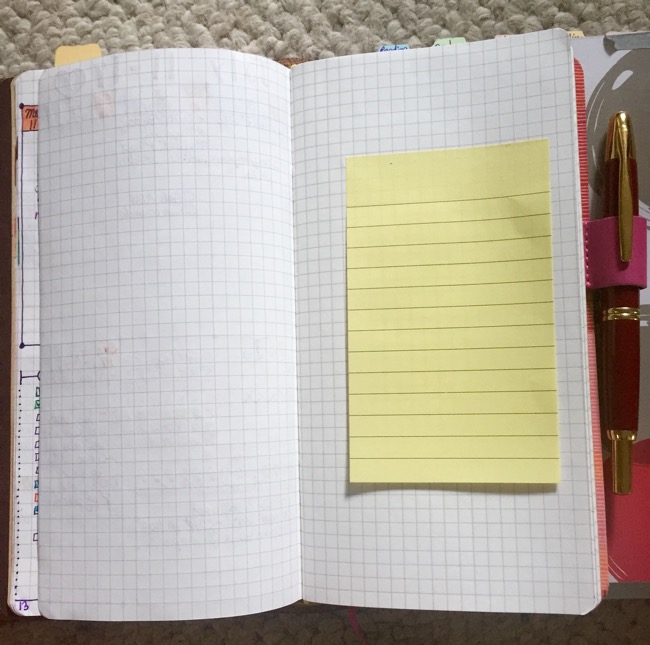
After my first week using the bullet journal system, I felt I was ‘missing’ something. I needed a better overview of my weeks especially since there were no dated pages to turn to. That’s when I decided to give the Monthly Log a second look. I figured out that if I boxed off each week and added it at the start of the month before my first weekly layout for that month, I could use THAT to do high-level weekly forward planning to make up for the blank page I kept accidentally turning to. This worked like a charm! Boxing off the weeks in the vertical column made it easier for my brain to ‘digest’ one week at a time while keeping an eye on the surrounding weeks. I also added a large Post-it note to that darn blank page—old habits die hard!—so I would have somewhere to jot down any other information for the upcoming weeks.

Another popular layout adopted by the traditional bullet journal system is the Alastair Method (read more about it here). This is a more condensed layout to provide more writing space for future planning so I’m using it as intended: to log any future appointments and associated details beyond the current week. This is also working out perfectly and I still have plenty of space left to last thru the end of the year!
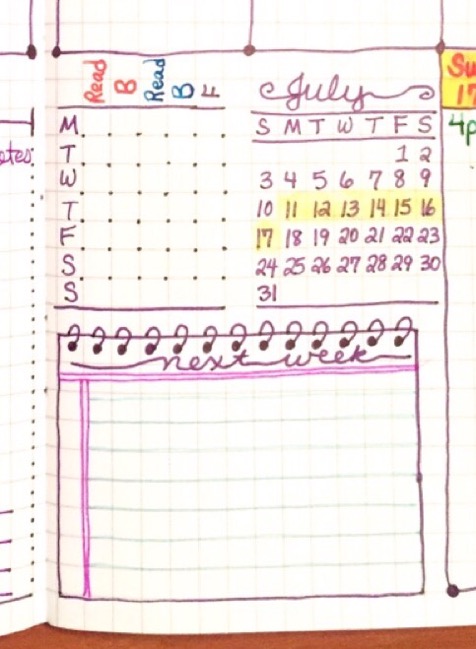
On my weekly layouts—which so far continue to change each week, it’s been so much fun!—I’ve adopted a permanent section titled Next Week. This is another tool I use for jotting down those quick notes that come to mind when I find myself thinking ahead to the following week. Slowly but surely, my ‘turning to a blank page’ reflex is starting to subside thanks to having a dedicated place to write these thoughts down. 🙂
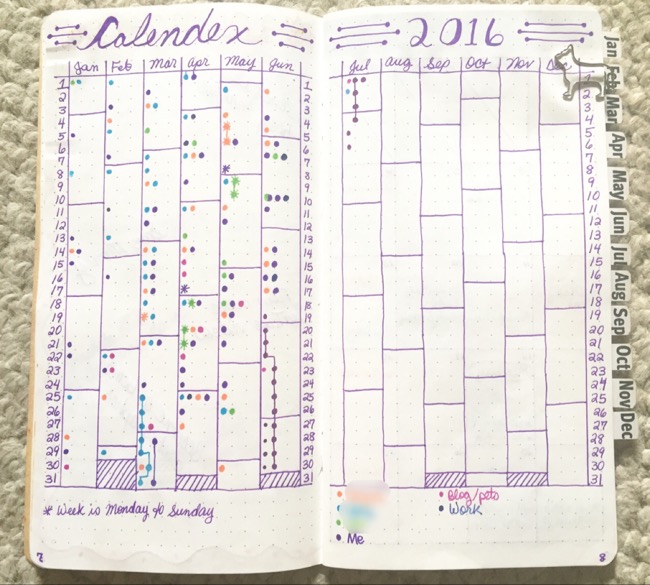
Lastly, there’s the Calendex (read more about it here). Many bullet journalists use this for forward planning—a page ‘index’ of sorts, plotted on a calendar—but I’m not using it this way. Instead, I re-purposed it to support my Monthly Index Log, another critical component of my planning system (read more about it here). I mentioned before that I was a visual person, so this has become my visual index to keep track of any important events/activities captured in the monthly index log. For example: family sick days, vacation days, doctor appointments, car maintenance appointments, when an insurance payment was sent, when work was done on the house, etc., If I need to quickly locate the date something important happened throughout the year, I can scan my Calendex, then turn to the monthly index log for the details. I can also spot trends—e.g. my daughter gets sick more often than my son so now I can quickly see when was the last time she got sick. This is another example of how my brain interpreted this layout in a completely different way than it was originally intended when I first saw it, so I ended up using it to supplement another part of my existing system. It just goes to show how flexible the bullet journal system is, able to adapt to anyone’s needs, and enabling you to design a system that is truly your own.

Summary
As you can see, this old school, calendar-dependant, functional plannernerd continues to comply with One Book July (hey, that rhymes!) and—despite hitting a few bumps in the road—is still pressing on with the Bullet Journal Experiment. I’ll admit, I do miss my dated calendar pages but I’m loving the freedom of designing my layouts ‘on the fly’ and learning new methods and techniques for planning more effectively. Who knows? Perhaps this’ll be the system I use next year…you’ll just have to wait and see! 😉
So did you try One Book July? How’s it going—are you still in the ‘game’ or feeling like you’re ready to ‘throw in the towel’? What lessons have you learned about your system and have you made any changes? Do you also use a Bullet Journal? What are some of your favorite hacks for forward planning? Please share in the comments below and don’t forget to like, share, and subscribe!
Until next time, 🙂
♥ LilD ♥

1 Comment on Update on One Book July + Bullet Journal Experiment