So you’re ready for an upgrade? If you made it thru the beginner phase (covered in this blogpost) and realized your priorities exceeded the limits of a simple bound planner (covered in this blogpost), then it’s time to move up to an ‘intermediate planner setup’.
Let me start off by saying I will not be going into an in-depth review of specific products at this time–I’ll cover my experience with products I’ve personally tried in future posts. Instead, I’m going to cover general product categories that you can use as a starting point to upgrade your planning system. If you’ve made it this far in the process, it’s because you need the ability to customize your planner to meet your complex needs.
The first step is to pick a flexible binding system which allows you to add/remove pages and organize them in any order you wish. Below are the 2 flexible options available and 1 semi-flexible option that I’ve also included because it has recently become popular in the planner community:
- Ring bound
- Disc bound
- Travelers notebooks (semi-flexible)
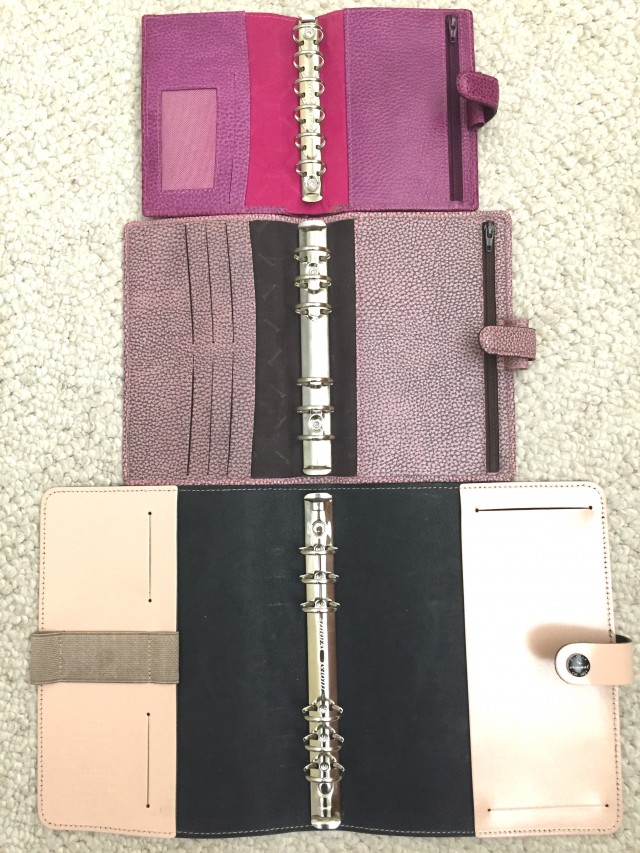
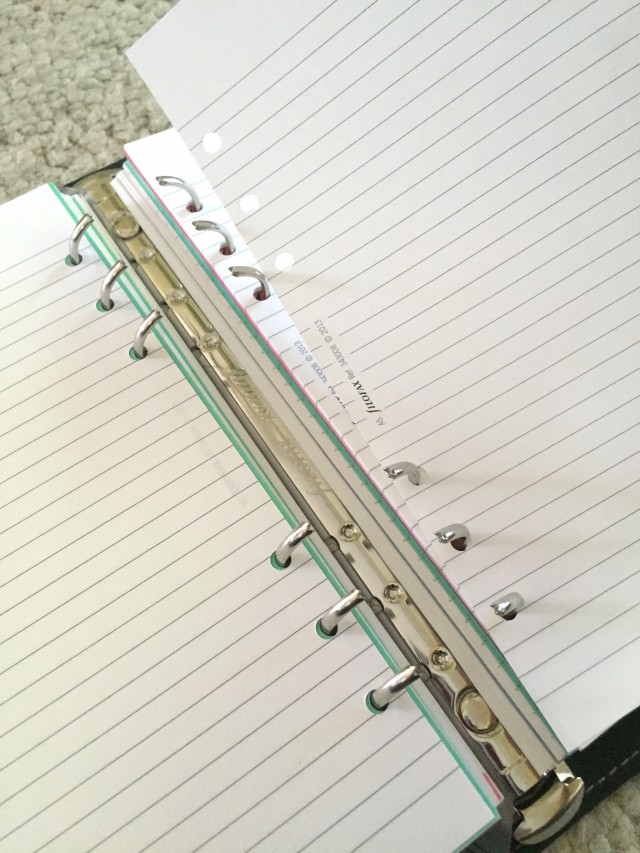
If you remember back to when you were a kid setting up your loose-leaf notebook for the new school year, a ring bound planner is the ‘grown up’ version of a ring binder. These binders typically have 6-7 rings depending on the brand and come in various sizes–the larger the rings, the more it can carry. The binders themselves are also available in a variety of sizes, materials, and styles in all price ranges. Just as you would set up a section, separated by a divider, for each subject in school, you have the ability to set up planner sections for each of the areas of your life. Some common planner sections are: Schedule, Tasks, Notes, Projects, Contacts, Finance, Projects, Home, School, Work, Medical, Reference, Travel, etc., just to name a few.
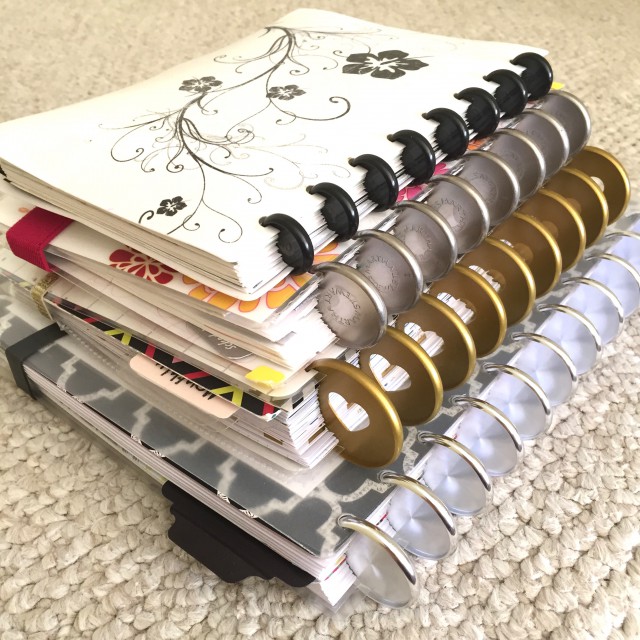
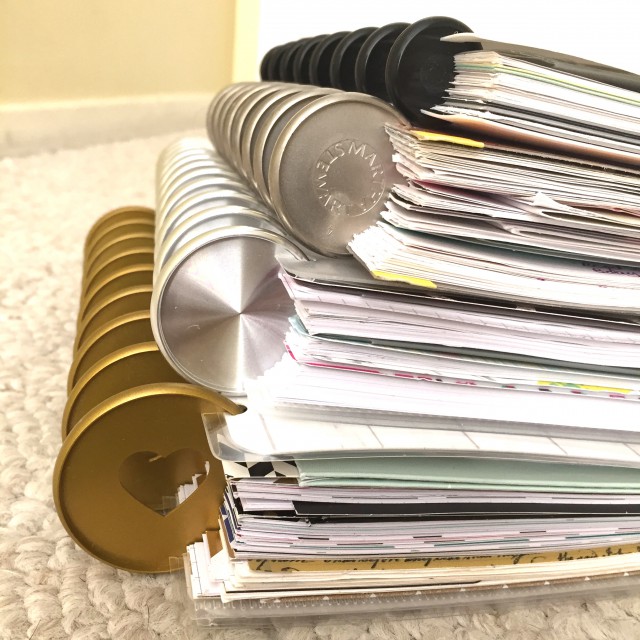
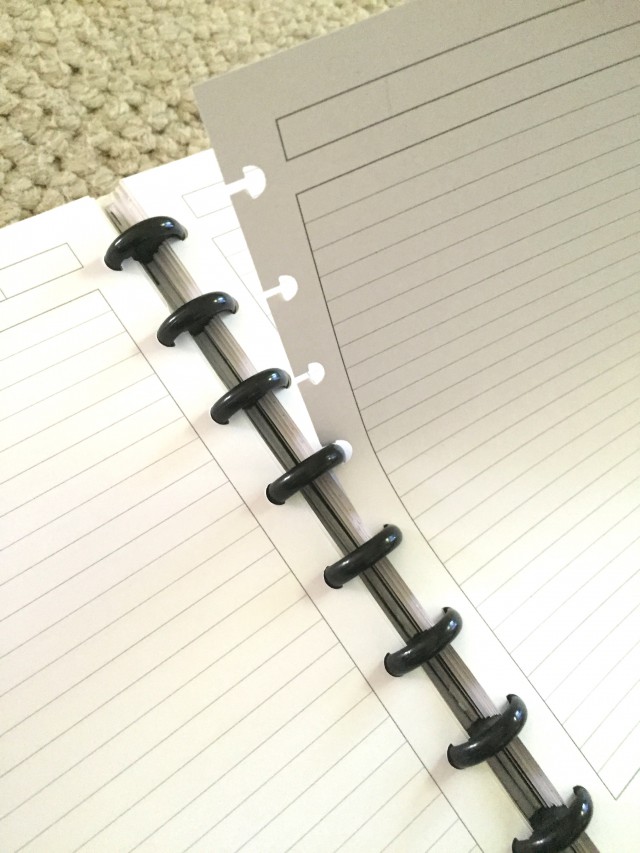
Disc bound systems are relatively new and follow the same premise of a ring binder but the ‘discs’–which are the ring equivalent–are a separate, independent component of the system. A ‘notebook’ is created when you’ve taken several of these individual discs and attached them to a stack of papers nestled between two thick covers, all punched to have the distinctive ‘mushroom-shaped’ hole. Discs, like rings, also come in a variety of sizes which will determine how much paper it will hold. There are also many supplies available for disc bound systems–papers, dividers, folders, snap-in pen loops, post-it holders, specialty hole punch, etc.–which can be found in almost any office supply and craft stores as well as online.
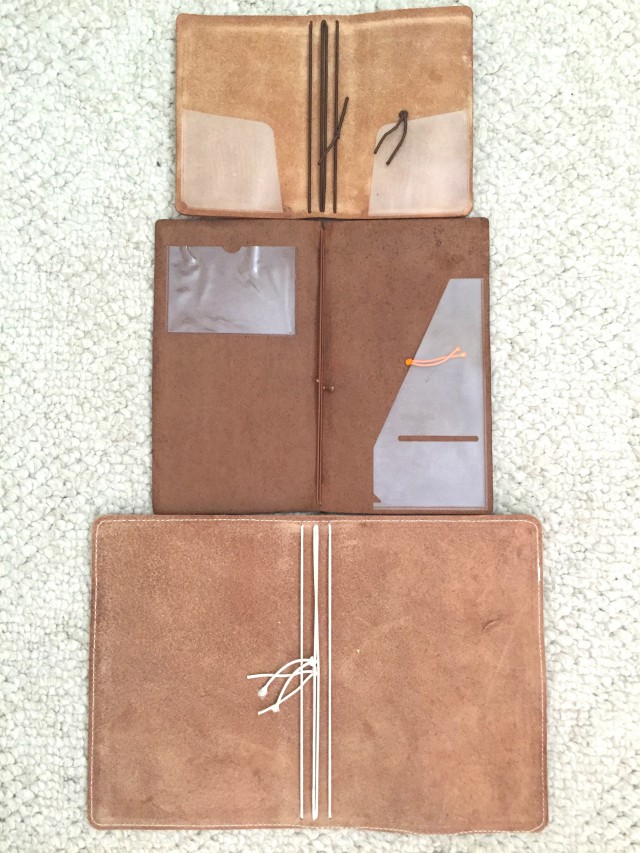
The last system I included was the travelers notebook system because it is a ‘semi-flexible’ system that allows you to add, remove, and organize several thin bound booklets together as well as accessories such as folders, zip pockets, and card holders. Travelers notebooks have a very simplistic design. It is usually a rectangle shaped piece of leather with 2-4 elastics along the spine (to hold thin bound notebooks) and a single elastic that serves as a closure around the notebook when it is closed. The original travelers notebook is the Midori® brand but there are many other similar options now available from other manufacturers who make them in various sizes, materials and styles known collectively as ‘fauxdoris’ (aka not a Midori®). Below is a video demonstrating how notebooks are added and organized in a travelers notebook system.
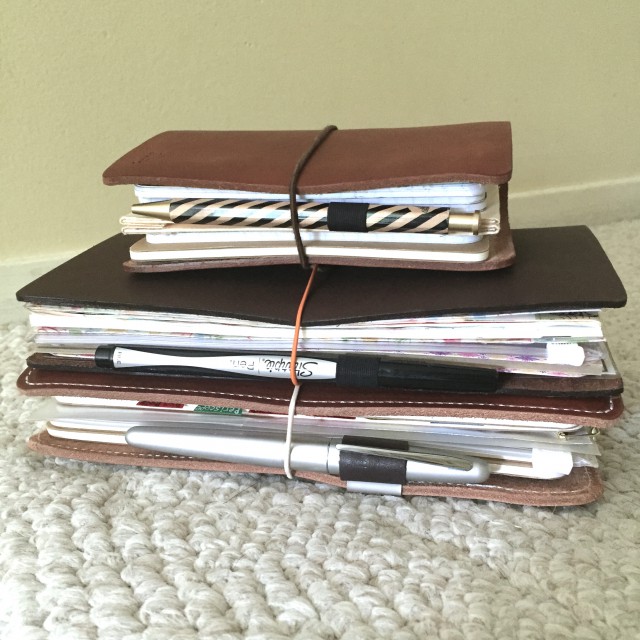
As an intermediate user, you already know what planner size, page layout, and additional tools you need on a daily basis. You are now ready to invest in a flexible bound system–whether it be a low cost option or fine leather binder–that you can customize with personalized divider sections, extra paper, folders, accessories, etc. Depending on the brand and style chosen, some planner binders will have additional pockets (zip, secretarial, vertical, or back), extra card slots, 1 or 2 pen loops (for extra or multi-color pens), and slits to carry a extra notepad.
Configuring your custom system may take some time but it shouldn’t be difficult because you’ve already figured out–in the beginner phase–what needs to go into the binder. All you have to figure out now is how to organize your sections, accessories, and supplies within the binder and to make sure everything fits in the space allotted. The end result is you’ll have a powerful ‘intermediate planner setup’ specifically designed to meet your daily demands.
For many users this is as far as you need to go to design a planner that works for you. But what if you want ‘more’ or are just curious to see ‘what else’ you can do with your planner? Then come back next week to check out the final installment of the ‘Planner Overload Series’ to see what an ‘advanced planner setup’ might entail. Things are REALLY going to get interesting! 😉

4 Comments on Planner Overload Series – Time for an Upgrade!