If you’ve been following this blog series, you’ll know that this year I committed to doing the One Book July challenge along with my Bullet Journal Experiment—read more about it here. So far, it’s been an eye opening experience and a lot fun since I’ve had the opportunity to use a lot of supplies from my planner and art journaling stash. So what are some of my favorite supplies to use?
Let’s start off with the basics. For One Book July, all you need is one planner (ring-bound, disc-bound, coil-bound, book, or travelers notebook) and one pen or pencil. As luck would have it, the same applies to starting a Bullet Journal: all you need is a book and a pen. This is why I decided to do both together. You can, of course, add more supplies but just know that these are the only two things you really need to get started with either or both.
(My) Basic Tools
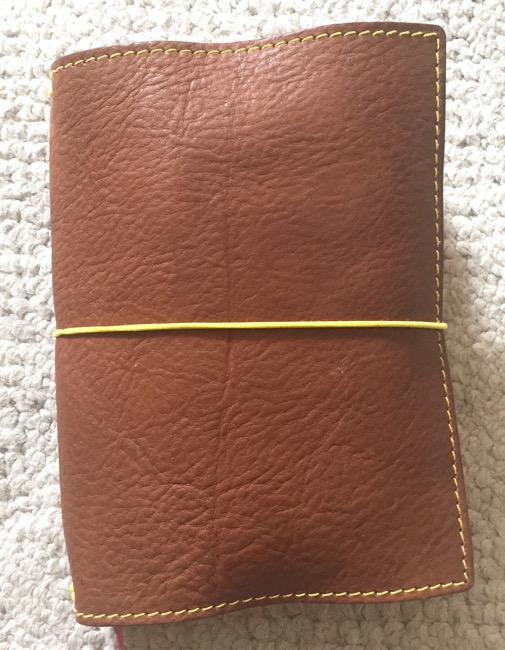
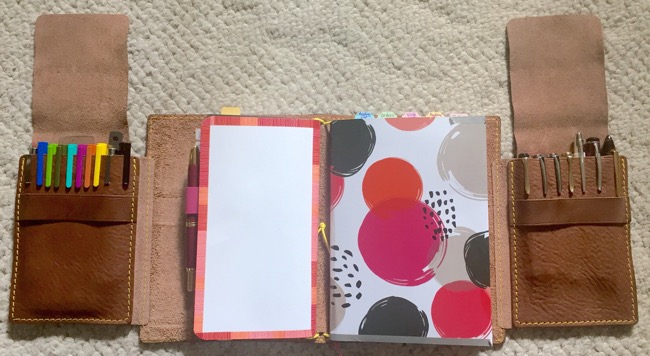
For my One Book July + Bullet Journal setup, I’m using an A5 size (approximately 8.5″ x 5.5″) travelers notebook made by Naked Cow (check out the Etsy store here). The name of the notebook I’m using is ‘Artist Journal’ and it has two built-in pen/pencil pouches to carry pens and art supplies (more about this later).
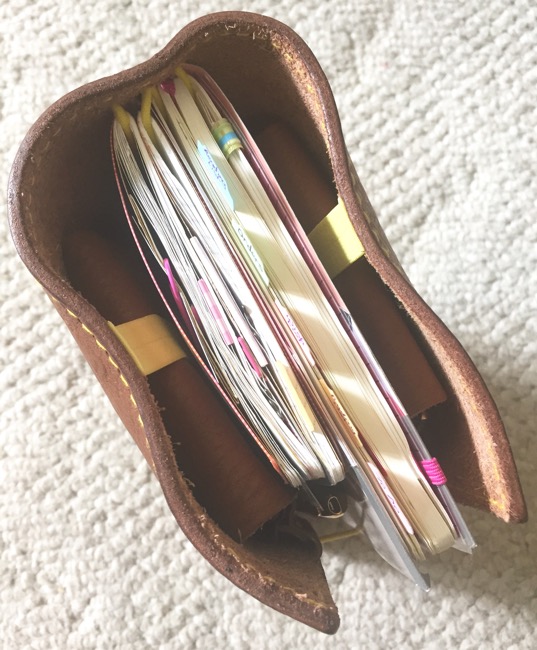
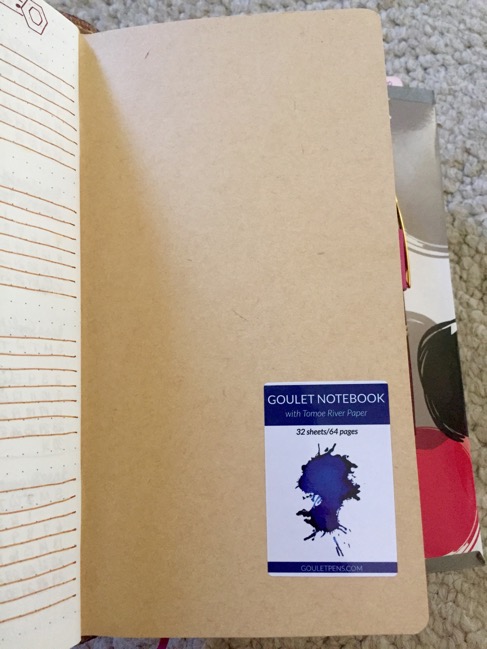
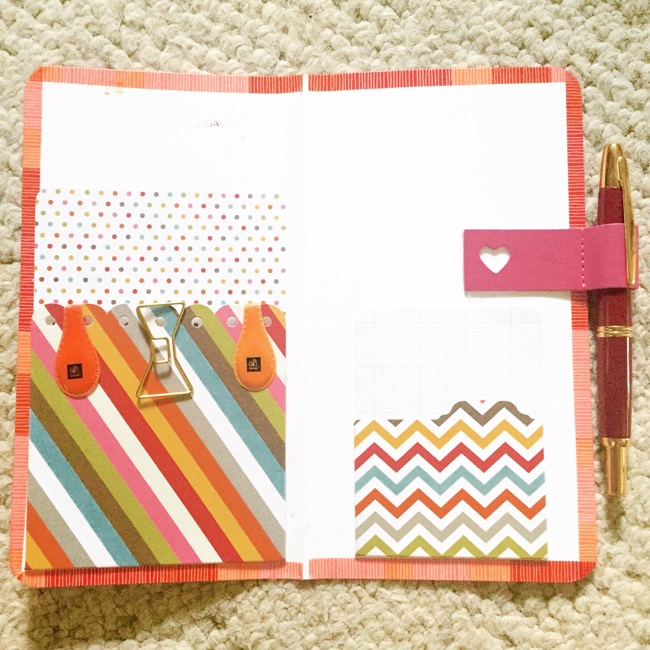
So what books am I using? As a fountain pen geek, using good, quality paper is very important so I’m using two (2) GouletPens standard size booklets with 52 GSM Tomoe River paper which is very thin but fountain pen friendly. These 2 booklets hold all my planner pages (monthly, weekly, yearly calendars, etc.) and other layouts needed for tracking and forward planning—read more about my book setup here. It may seem odd to have a standard size travelers notebook in an A5 size notebook so let me explain. When I started using these booklets, I was also using a standard size travelers notebook cover. Earlier this month, I moved into the A5 size Artist Journal and didn’t want to rewrite 6 months worth of information so I just transferred the booklets since it’s the same height as an A5 (8.5”) but narrower in width (approximately 4.25”). Both of these booklets are nestled inside of a handmade standard size folder that I made out of cardstock, trimmed with washi tape, put two stick-on pockets, and a stick-on pen-loop (specific supplies are listed below).
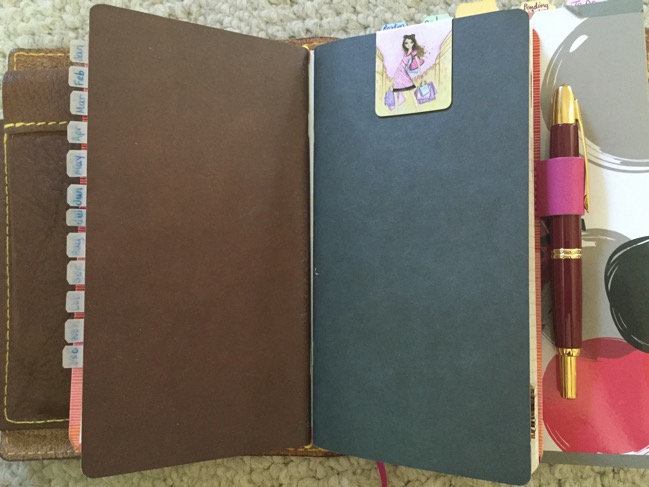

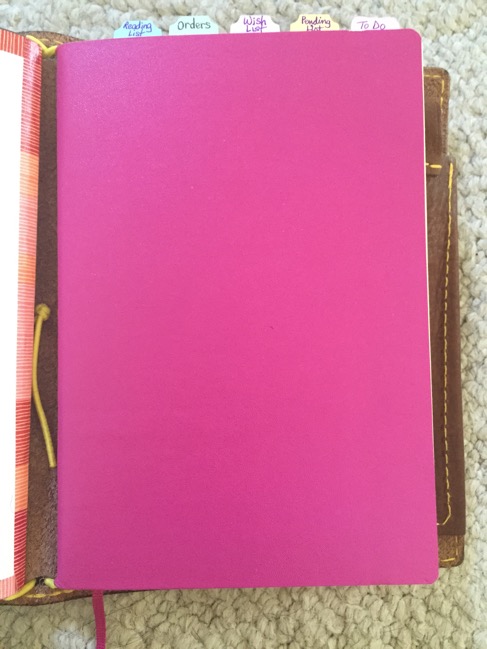
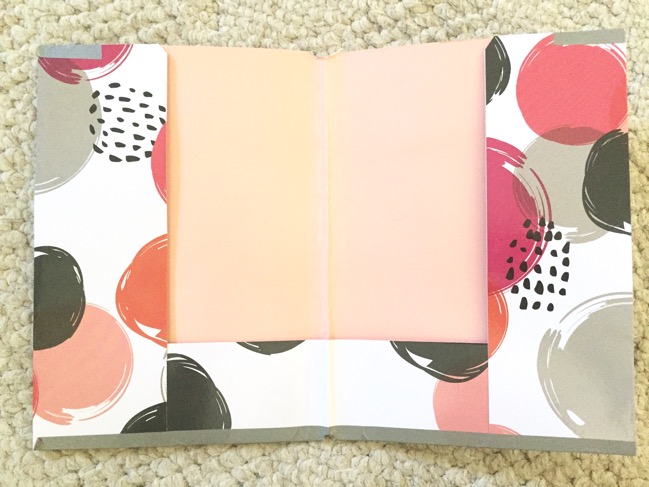
I’m also using a slim, soft-cover A5 size Leuchtturm1917 lined book that I bought some time ago but never used. This is where I’m keeping all my lists (known as ‘collections’ in bullet journaling), notes, and reference information. This book is also nestled inside a handmade folder that I made using a Target Dollar Spot file folder. All 3 books make up my Bullet Journal system.
As for the pen I’m using, I once again bended the rules and chose to use more than one fountain pen to support my color coding system—read more about it here—because this is what works best for me. In the right-hand pen pouch, I have all the fountain pens I’m currently using and in the left-hand pen pouch, I’m carrying some art supplies (markers, watercolor palette, water brush, multi color mechanical pencil, and some rulers).
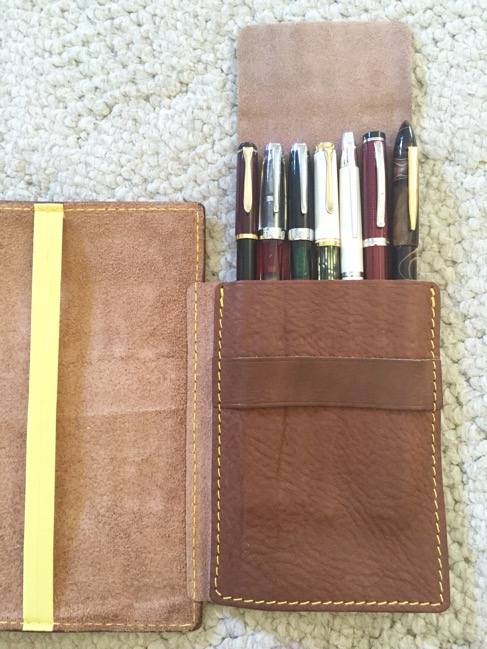
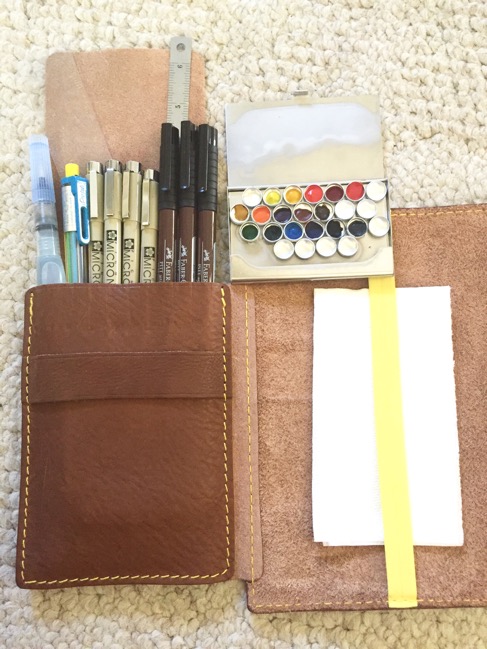
This may sound like a lot books, pens, and other supplies, especially since One Book July and Bullet Journaling advertises ‘one book, one pen’, so let me take a moment to explain. One Book July allows for exceptions so as not ‘break’ critical elements of your system. For someone who generally uses 4-to-8 ring planners, each equipped with their own pencil case full of supplies, limiting myself to one travelers notebook (I also reduced the number of booklets from 8 to 3) and whatever it can carry is MY way of reducing my system to ‘one book’. Color coding is another critical element of my planning system so this cannot be eliminated. Some plannernerds will use a multi-color pen so they can carry one pen with multiple colors but I’m a fountain pen user and have to carry more than one since there’s no such thing as a multi-color fountain pen—I wish!
Other Supplies
Okay, let me start off by saying that NONE of these supplies are required or necessary to successfully complete One Book July or use the Bullet Journal system or any planner system for that matter. These are just some things I already had in my stash that I like to use for planning and art journaling that I either carry with me or use when I sit down on a Sunday afternoon to prepare my Bullet Journal layout for the upcoming week so feel free to do the same—just use what you have and don’t forget to have fun with it!
- Me & My Big Ideas pen holder, 2-pack (these are fantastic for large, multi-color, and fountain pens—very spacious with a smooth faux leather that makes it easy to slip the pen in and out quickly)
- Waffle Flower Clear Calendar Stamps (this stamp set includes every monthly calendar configuration you’ll need including weekly headers with a Sunday and Monday start—perfect for creating year-at-a-glance layouts quickly)
- Staz-on Jet Black ink (great archival ink but some of the darker colors will ‘shadow’ on Tomoe River paper)
- Me & My Big Ideas washi tape sets (great for decorating pages and adding to the edge of a page—in lieu of a bookmark—to make information easier to find)
- Martha Stewart Mini stick-on tabs (these are my absolute favorite—I have a few extra packs—and a must for me to locate key pages quickly)
- Monthly (January thru December) stick-on tabs (I trim these down to the first three letters of the month to make them more compact; another must for me to quickly locate a specific monthly page)
- Midori Cat D-clips (adorable and doubles as a bookmark since the little tail and ears stick out from the page!)
- Book Darts (great for bookmarking pages without adding bulk)
- Oli clips (strong magnetic clips that can hold several pages together or your Leuttchurm1917 back pocket closed; also has a thin profile to reduce bulk and they come in lots of fun colors and patterns)
- Post-its (large, lined) (always great for jotting down quick notes)
Pens/Markers/Ink
- Micron Pigma Archival Pens (These are my favorite archival ink pens to both draw out my Bullet Journal layouts and sketch with because they stand up well to watercolor. They come in a lot of great colors and tip sizes including a brush tip.)
- Faber-Castell PITT Pens (This is another popular archival pen favored by bullet journalist. Also comes in multiple tip sizes, colors, and as a brush pen—my favorites are the Sepia colored pens and pastel colored brush pens)
- Steadtler Triplus Fineliners (I use these both for writing things down according to my color coding system and to sketch/color when I don’t feel like using watercolors)
- Stabilo Point 68 Pens (Comparable to the Steadtlers but I find the colors just a bit more vibrant)
- Fountain pens: Pilot Vanishing Point, TWSBI Mini, Pilot Decimo, Xezo Incognito are some of my favorites! (I’m a fountain pen geek so I’m always looking for opportunities to use the ones I have in my collection. They are currently inked with the colors of my color coding system as well as some other favorite colors.)
- Fountain pen inks: Noodlers Navajo Turquoise, Gruene Cactus (green), Black Swan in Australian Roses (burgundy); Diamine Pumpkin, Red Dragon; Pilot Iroshizuku Ina-Ho; J.Herbin Café des Iles are some of my favorites! (for color coding system and writing notes)
- Sharpie Accent Highlighters (These are as thin as a pen and I like to use them to color code on my blog post tracker)
- 72-pen cases (I LOVE these cases for organizing my markers and watercolor pens—easier than dumping them out to search for a color. I own two and got one for each of my kids!)
Art Supplies
- Tombow dual watercolor pen set (I love these for adding color touches to my bullet journal layouts and to sketch/paint when I’m too lazy to pull out my watercolor kit)
- Pentel Arts 8 color automatic pencil (great for quick, colorful sketches!)
- Winsor & Newton Cotman watercolors tube set (My current favorite brand of watercolor paints)
- Pentel Aquabrushes (these are great for watercoloring on-the-go since they have a built-in reservoir)
- Tim Holtz Distress Stains (great for adding color to large areas—perfect for creating colorful backgrounds on pages)
- 6″ Stainless steel ruler (to draw straight lines and measure things on-the-go—has both inches and millimeters)
- Westcott Drawing template (this a great, compact ruler/stencil with several basic shapes that are small enough to fit on planner pages!)
Summary
Remember, all you need is a book and a pen for One Book July and to Bullet Journal—and, yes, I’ll come out and say it (some of my readers have already called me out on it, lol!): while I significantly reduced my planner setup and supplies, it’s not technically ‘one book, one pen’ but for ME (in my first attempt), it’s pretty darn close! That said, feel free to have fun and use whatever supplies you have in your stash and do what works best for YOU!
Are YOU doing One Book July and/or using a Bullet Journal? What are some of your favorite supplies to use or are you more of a minimalist? Please share in the comments below and don’t forget to like, share, and subscribe!
Until next time,
♥ LilD ♥


I’m confused, but isn’t having a TN with several notebooks inside and a pouch to hold multiple pens kind of defeating the purpose of ‘one’ book/ ‘one’ pen July? I see a lot of people committing to this, but trying to find ways around it so they can have multiple pens, notebooks and supplies.
Hi Elle!
I’m usually a multiple (ring) planner user (minimum of 4 and as many as 8!) each equipped with a pencil case full of stuff so for ME, using this one TN for a whole month (I used to carry 8 booklets and reduced it to 3) with whatever it can carry IS my detox version of ‘one book July’. If you watched Rhomany’s video, she allows for this flexibility. Another key component of my system is color coding—I would be lost without it—so she warns not to mess with what works. The same goes for bullet journal. The traditional system is very simple and all text logging but some folks from the planner community have added an ‘artistic flair’. I only use my art supplies when I’m creating the next week’s layout or want to ‘jazz up’ a list or page of notes so it’s just a way to stimulate my learning style (I’m a visual learner); also, I have a separate messenger bag full of art supplies so, again, reducing it to whatever I can carry in my TN is huge! Not sure if you read the other posts in this blog series but it has links to the videos and I also explain the exceptions allowed and why. Even with these caveats, people still struggle with both of these. I believe you always have to put your own ‘spin’ on things and make it work for you so if nothing else, that should be the lesson learned here.
Thanks for reading!
LilD
P.S. I’ll make sure to update the post to include this clarification so others won’t get confused. Thanks again!
I absolutely love that Traveler’s Notebook!
What l don’t get is the idea of using multiple notebooks and pens when the aim is to reduce to only one.
Even if in normal times you use 4, to 8 planners at the same time, the whole thing here is to reduce to ONE.
I see many people claiming they are doing the “one book/one pen” project but fail because they use 2 notebooks.
I tried doing it too, and like you l failed as l managed to reduce from three planners to one but l used two fountain-pens and a pencil.
Well, may be we’ll make it next time!
Hey Nathalie,
Yes I’ll admit it’s hard to really get it down to literally one book, one pen. As a long time planneraddict, I have to take ‘baby steps’ and perhaps some day I’ll get there!
Take care,
LilD
I know what you mean! I’ve used multiple planners since the 80s and l love splitting their tasks : a personal for work, a pocket for contacts, an other pocket for diary, lists, to dos, notes… and a personal for administrative stuff (which stays at home).
Trying to get it down to one planner (personal size as l don’t like bigger/heavier binders) meant l could only keep what is really important and useful. Trust me it has been brain racking to decide what was staying and what was stored. Anyway l did it.
As it worked fine, l even rewarded myself with a new planner (err three in fact which will be used in rotation!), Classic Crocs in indigo and fawn.
Now l am determined to only use one personal planner and one pocket planner once l go back to work in September. It will be lighter and will force me to only keep what l really need and not a lot of useless cards and papers.
I can totally related—been using planners since the early 90s and judy.mercado@va.gov tried many systems so by now, I know what techniques work and don’t work. Personal size is my comfort zone and what I use primarily but I’ve recently discovered that A5 gives me more room to write—I’m a list maker and avid note taker—so I’m LOVING this Artist journal!
I’m glad you found what finally works for you and there’s nothing wrong with a little reward—you’ve earned it so enjoy your planners!
To me, the ‘One Book’ goal has to do with the innards. My insert sizes and system doesn’t change. I normally use a pen and a highlighter, so that doesn’t change. Now, the binder, that’s a different story. I switch binders faster than my purses. I need the visual variety. That’s my spin.
how did you make your watercolor palette? or did you buy it somewhere? It is too cute and tiny! I love the mini look. I also really like your set up with the fountain pens on one side and artsy stuff on the other. I would love to get one of them but he’s out sick. I guess I’ll have to make my own.
Hey Audra! More and more TN makers are starting to incorporate built in pockets so just keep a look out (another I’ve tried is ApplePigLeather). A more affordable option is the Lihit Lab A5 Notebook Cover (on Amazon and Jetpens) which has a built in velcro pocket on the outside–I use one for work. I shared the deets on the palette on IG. Let me know if you have any other questions and thanks for checking out my blog!
I got a B6 size to try for my Bujo and am loving it. Made my own cover with flip out pockets. Not sure if I’ll ever go back to “normal”.
That’s amazing, Audra! I wish I could make my own cover with flip out pockets. Glad you found a system that works for you and I totally agree–don’t think I could go back to anything else.