If you’re familiar with my blog, you’ll know that I’ve used traditional, calendar-based planners for the past two decades. I started with a checkbook size month-on-2-page (MO2P), graduated to a Daytimer System day-on-1-page, and have tried numerous other systems, products, and layouts over the years—read more about my planner journey here. The one thing I’ve yet to try that I’ve been extremely curious about is the Bullet Journal system or Bujo for short. I’m intrigued by the concept of starting with a ‘blank slate’ every week, having everything in one place, and the overall simplicity of the system. As an experienced plannernerd who has come to learn what works and doesn’t work for her, I can’t help but wonder: can I design a Bullet Journal setup that will work for a calendar-dependent functional plannernerd? (pause for Carrie Bradshaw moment 🙂 — any fans of the ‘Sex in the City’ TV show?)
(*Note: This post contains some affiliate links. These links will help you find items I’ve purchased, use, and love!)
I’ve recently become obsessed with the bullet journal system and have been scouring pictures on Instagram, viewing YouTube videos, and reading blogs. The Bullet Journal system was developed by Ryder Carroll and it’s fundamentally a very basic, rapid logging system—check out this 5 minute video which explains how to setup a traditional bullet journal and for more information check out the website: http://bulletjournal.com/
The Bullet Journal Allure
Just as enthusiasts from the crafting and art worlds have significantly influenced the planner world, they have equally influenced the bullet journal world. As a result, there are a lot of varying styles and adaptations of the bullet journal system which is what attracted me to this system in the first place. I’m constantly reviewing my planner calendar pages, making tweaks, designing inserts, and searching for tips in an effort to improve my setup. Whenever I make a change, I have to reprint the pages and sometimes, recopy information. The bullet journal system, on the other hand, allows you to redesign your daily/weekly layouts regularly since you create and work with one day/week at a time. That was the first ‘light bulb’ moment for me: having the ability to redesign my layout on a weekly basis (I prefer a week-on-2-page spread). That said, this system is not really designed for extensive forward planning since it focuses on the ‘here and now’ so I knew I would have to incorporate a few Bujo ‘hacks’ to compensate.
You use how many books?!
Everything in one place. Many bullet journal purists typically choose one book—yes, you read that correctly! the Leuchtturm 1917 and Moleskine books are the most popular—which they use until it’s completely full. They keep track of the content by using an ‘index’ which serves as a table of contents. I’m a notorious list- and note-taker so, again, ‘light bulb’ moment! In addition, I own and adore the travelers notebook organizers so this, for me, would be my ‘one book equivalent’—one compact item to carry around but with the flexibility of separating content among several booklets, an absolute necessity for me. Sure, a ring or disc bound organizer could theoretically accomplish the same thing but a travelers notebook uses ‘booklets’ which is closer in concept to the single book used for bullet journaling—and it would give me another reason to use my beautiful travelers notebooks. 😉
My Bullet Journal Setup
First, I had to decide on the size. I’ve always been a personal-size (6.75″ x 3.75″), ring-bound gal and while I love the generous layout of an A5 planner (8.5″ x 5.5″), it can be too big for travel so I decided on the standard Midori size which is the same height as A5 but narrower (8.5″ x 4.3″).

Next, I had to figure out what information I would need in my bullet journal—the parts of my system that I rely on to keep me organized and productive. Below is a list of my ‘must haves’:
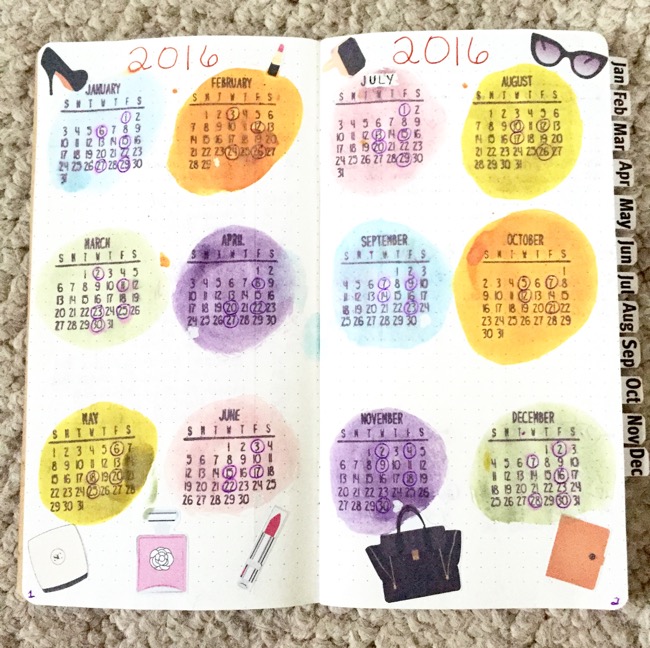
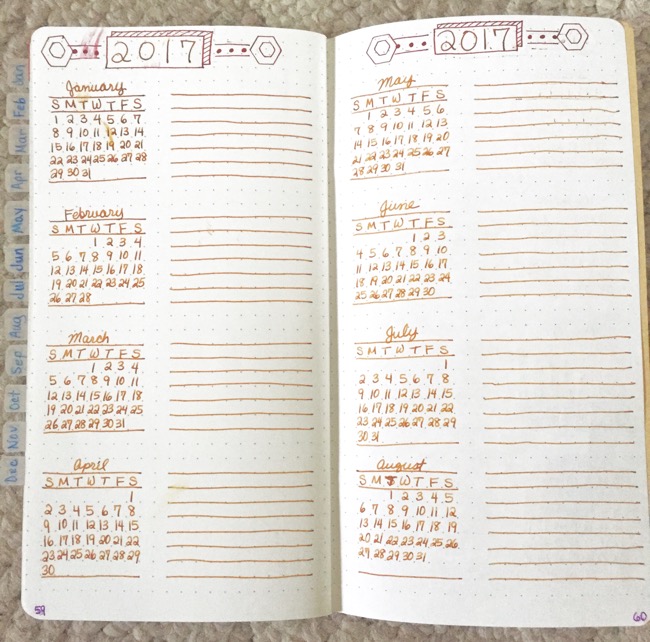
- Yearly calendars for the current and following year (traditional calendar format)
- Perpetual calendar (to keep track of birthdays, anniversaries, and other special events)
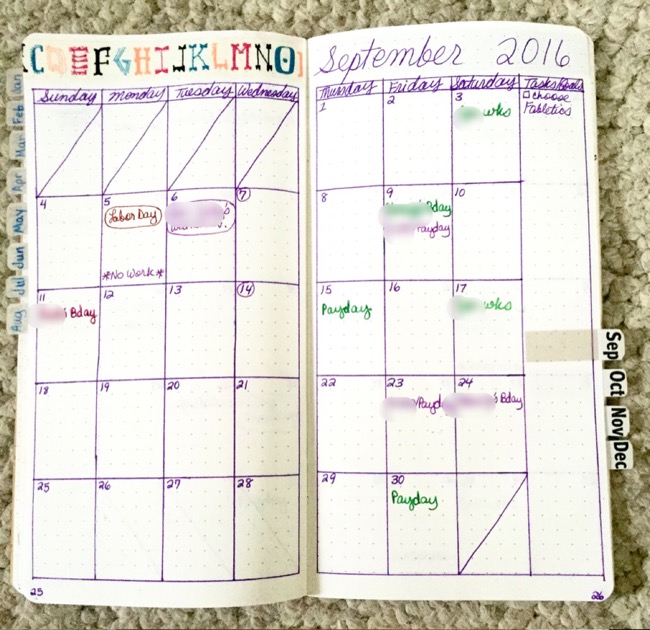
- Month on 2 page layout with a Sunday start (traditional calendar format; provides more room to write than the bullet journal monthly vertical format)
- Monthly Index Log (my monthly summary of key events, tasks, etc.—read more about it here)
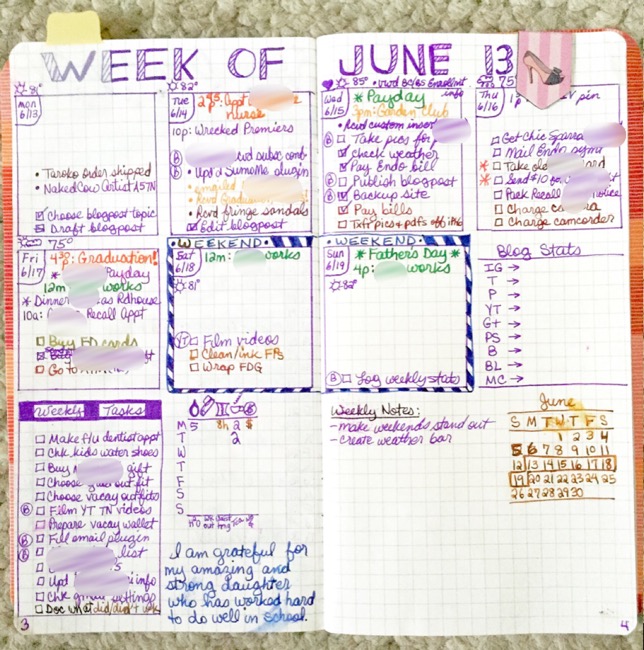
- Week on 2 page layout with a Monday start (this is the component I plan to experiment with and tweak every week—anything goes!)
- Future Logs (for upcoming days, weeks, and months)
- A place to manage lists (these are called ‘Collections’ in bullet journaling)
- A place to capture notes
- A place to store reference information
So if you took the time to watch the bullet journal video or read the blog, you’ll see that many of my ‘must haves’ are already included in the bullet journal system with some exceptions. For example, I need to see a yearly calendar view for forward planning and backward reference. Perpetual calendars help me itemize important dates/events. A traditional monthly calendar is easier for my brain to digest—I can’t really ‘wrap my head’ around the bullet journal vertical monthly setup; the vertical format looks more like a ‘list’ and there’s just not enough room to write things in for each day. Finally, the Monthly Index Log is something I developed for myself years ago to serve as a monthly ‘cheatsheet’ that I can refer back to throughout the year rather than having to dig back thru daily/weekly pages for important information (my daily/weekly pages get archived at the end of the month so I can travel ‘light’).
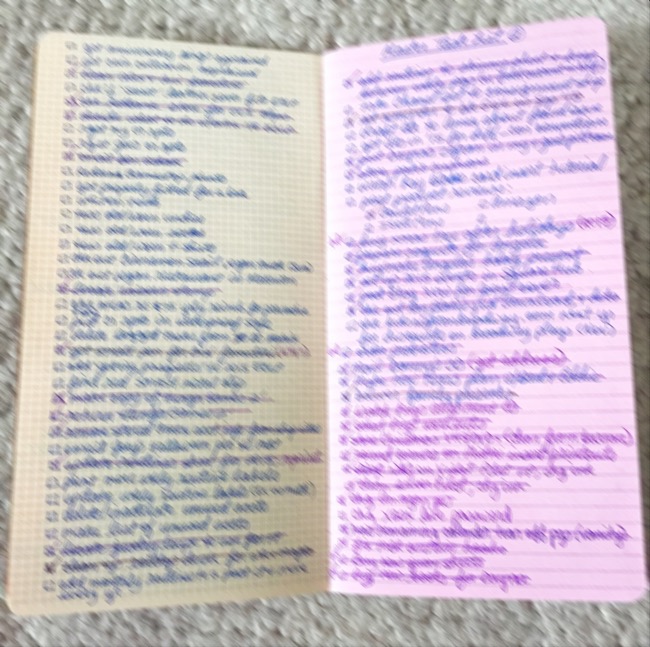
Finally, I thought I’d challenge myself to carry the least amount of books as possible. It came down to two basic questions: ‘What do I absolutely need to have with me when I leave the house?’ and ‘How can I organize the information in a way that would minimize the need to recopy information from an old book to a new book?’ My solution was to setup 3 grid/dot-grid booklets as follows:
- Book #1 – Yearly Overview: would have the current and next year’s yearly calendars, perpetual calendar, month-on-2-pages for the current year, and monthly index logs for the current year.

- Book #2 – Schedule: would have my weekly layouts; if I have an unusually busy week, I’ll create a daily layout for that day
- Book #3 – Reference: would have all my collections (aka lists), notes, important reference information, brainstorm logs, sketches, etc.
My reasoning for having 3 booklets is as follows:
- Book #1 – Yearly Overview: This booklet will be the core, ‘main stay’ of my bullet journal system containing everything I need to plan on-the-go.
- Book #2 – Schedule: This booklet will likely be the one that gets replaced the most. Once full, I could easily swap in a new blank, booklet without having to worry that I’ll lose track of important information embedded within the pages—key information would appear in my monthly index logs in Book #1, remember?
- Book #3 – Reference: This booklet will be another ‘main stay’ component for as long as there are blank pages available. Once full, I’ll have to decide if I want to keep it in my travelers notebook and just add a new, blank booklet (some of my travelers notebooks can carry up to 8 booklets comfortably) or swap it out and recopy any important information into the new booklet.
Early Results of the Bullet Journal Experiment
Last weekend I setup my 3 booklets and have already identified some problems which I’ve begun to correct. I decided to use the traditional bullet journal monthly vertical layout as a ‘weekly overview’ in Book #2 (the rows for each week have a box drawn around it to for visual separation). I did this because every time something popped into my head for the upcoming weeks, I would turn the page only to find it blank—ahhh! When using a calendar-based planner, you generally have the pages for the upcoming weeks in your planner so you can write in new appointments and task ‘ticklers’ but with the bullet journal, you only setup and work with one week at a time. I also stuck a large post-it on the next blank page so I can start capturing notes for next week’s layout. So far, my ‘vertical weekly overview’ and ‘weekly post-it note’ are helping to fill this forward planning ‘gap’.

Some other miscellaneous stuff about my setup:
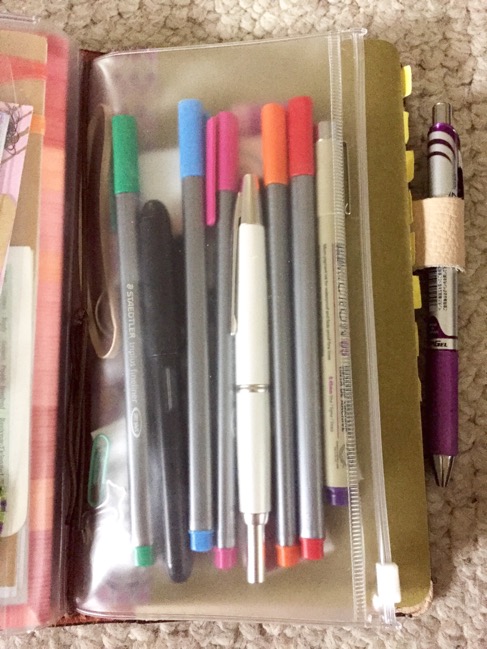
- I’m using a Pentel EnerGel gel pen in Purple to draw my layouts (more exciting than boring blue or black ink!)
- I’m still color coding (read more about my color coding system here); I use multiple fountain pens inked with the colors from my color coding system (read more about it here)
- The booklets I’m using are from Goulet Pens, Yellow Paper House, and the Midori #013 booklet—the Goulet Pens and Midori books both contain Tomoe River paper which are great for fountain pens and watercolors
- I’m using stick-on tabs and clips to make it easier to find and flip to specific pages
- I’m doing some minimal decorating to ‘jazz things up’; some of the supplies I use are Steadtler Triplus Fineliners, Winsor & Newton watercolor kit, washi tape, Micron pens, Tim Holtz Distressed Stains, Akashiya Sai Watercolor brush pens, etc.
Summary
So far, I’m really enjoying the bullet journal system and am still watching videos and reading blogs to get more ideas on how improve my layout—watch out for a future blogpost to find out how my bullet journal experiment is going. My plan is to continue using and refining it throughout the month of July to see if calendar-based methods and bullet journaling techniques can be morphed into a system that works for a plannernerd like me. 🙂
What about you? Are you a calendar-based plannernerd or bullet journaler? If you’re the former, have you tried bullet journaling and did it work for you? If you’re the latter, do you have any tips, hacks, or tricks that help make the system work for you? Please share in the comments below and don’t forget to like, share, and subscribe!
Until next—wish me luck! 🙂
♥ LilD ♥

Loving your set up.. it just makes so much sense…
Thanks! It’s been interesting trying to find that ‘happy medium’.