Welcome back for part 2 of my ‘Planner Setups for the New Year’ blogpost series (check out Part 1 here). As a blogger (and YouTuber) there’s a lot that goes into planning and generating what I strive to be quality content for my readers. As a result, I use a different, more creative planning style than I use for work or my personal life so I have found it best to designate a separate planner for this life area. This year I was thrilled to find a new product on the market that I think will be perfect as a blog/YouTube planner. I posted a sneak peak on my Instagram last week and many were surprised by my choice—nothing wrong with shaking things up! So what have I chosen as my Blog/YouTube planner for next year?
Many of my readers know I’m traditionally a ring-bound user and—most recently in the last few years—a travelers notebook user. These are the planning systems that I’ve been using for years that allow me to get the job done while having the flexibility to change things up. Before I share what I’ve chosen to use this year as my blog/YouTube planner, let me give you a quick update on what I’m currently using—if you want more details, check out my more in-depth blogpost published earlier this year where I described my blog planner setup.
Blog Planning Style
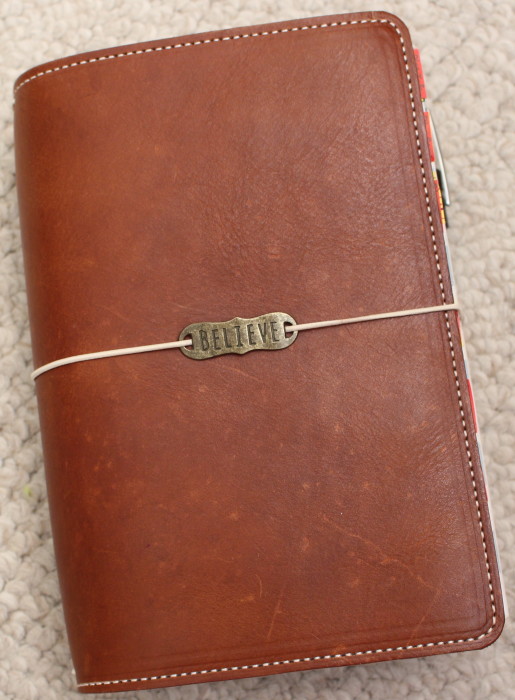
My current blog planner is an extra wide travelers notebook which contains several books for different purposes. To manage my editorial calendar, I’m using the Inkwell Press Quarterly calendar books which have month-on-2-page and week-on-2-page layouts, a monthly dashboard for goals, and some extra pages for notes. In addition I use several Moleskin Cahier booklets (blank, lined, and grid) to track different things in a bullet journal fashion, see below:
- Tasks & Notes (includes goal and project planning)
- Designs & Ideas (to draft, map out, and brainstorm new ideas)
- Knowledge Base Volumes 1 thru X (for blog/social media/YouTube notes, tips, and tricks learned from meetings, webinars, conferences, etc.)
- #GirlBoss Volumes 1 thru X (for business related notes, tips, and tricks learned from meetings, webinars, conferences, etc.)
*Again, if you want more information regarding the booklets described, check out the link just above for the ‘blog planner setup’ post published the beginning of this year.
Last year I used a similar setup—month-on-2-pages for my editorial calendar, monthly index logs (read more about it here) and various booklets for tasks and notes. This year I thought I could organize myself a little better by including a weekly layout but I discovered I didn’t use it as much as I thought I would. It turns out I actually prefer the monthly index logs (summaries) highlighting the main activities or accomplishments of the month and planning projects out on paper which ultimately get scheduled on the monthly layout. When I replaced the monthly index logs with the weekly pages, I ended up feeling lost because I had no overview of what happened throughout the month because this information got buried in the weekly pages. The main problem with last year’s setup was that I had to draw out every monthly layout which was extremely time consuming. The problem was solved by this year’s quarterly planner books which saved me from doing all that work so at least that was a improvement! I also really liked the monthly dashboards for project and goal planning. As a result, I’ve learned what components of my blog planner setup I like, don’t like, and ultimately need to plan effectively.
The Perfect Blog Planner (for me!)
I don’t remember where I saw it first, but this year Erin Condren released a new planner called the ‘Monthly Planner’ as well as a ‘Monthly Deluxe Planner’. For any of you who aren’t familiar with this company, she’s known for her colorful, beautifully designed coiled planners and related products which can be personalized in various ways. The new monthly planner page configurations are setup in a way that compliments my blog planning style, the price was comparable to planners I would find at my local Michael’s or Target, and there was a sale going on at the time so I decided to check them out for myself—yes both, I couldn’t decide! Below is a description of each monthly planner:
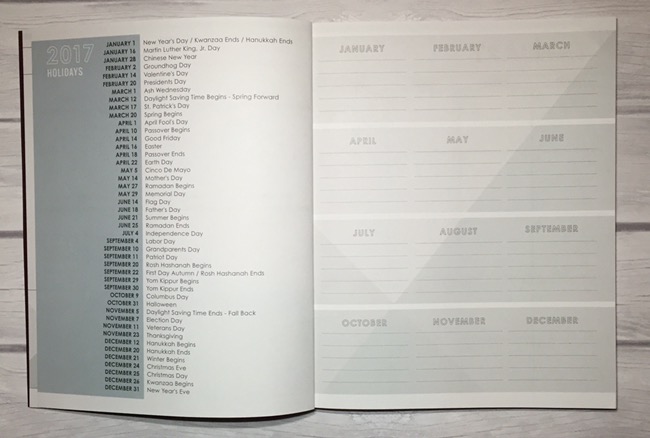
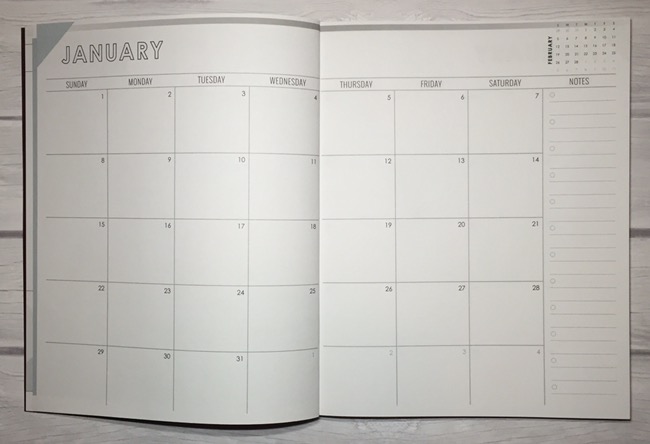
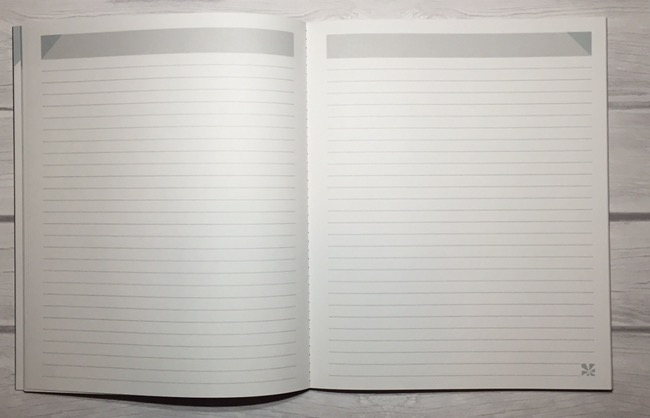
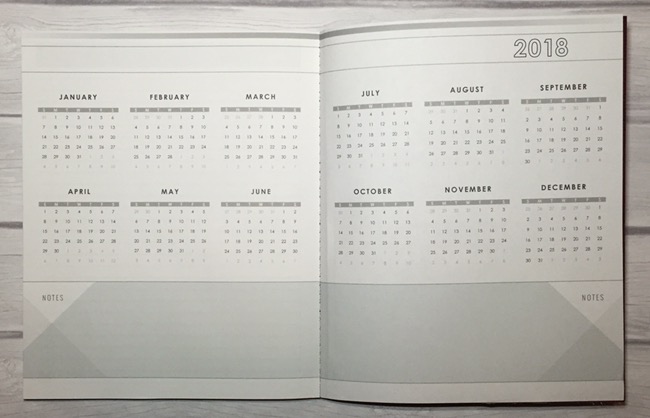
- Monthly Planner ($25) – This is the planner that caught my attention first because I thought it would be perfect to slip into my travelers notebook. Below is a brief description of the planner:
- 7″ x 9″ bound book
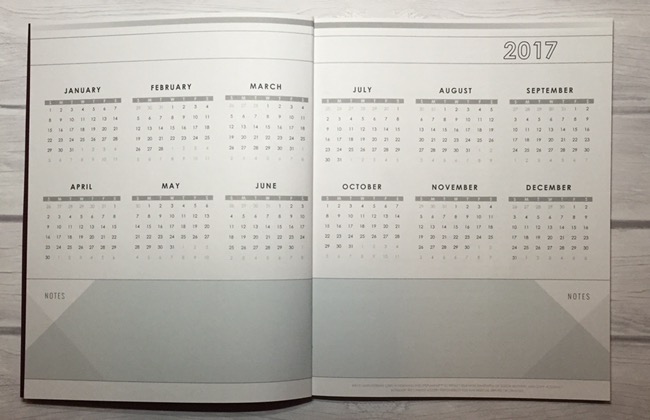
- yearly overview with a notes section at the bottom
- summary of important dates and holidays for the year
- 12 month dashboard on one page for forward planning
- month-on-2-page layouts for the whole year with a column for monthly tasks/goals (all 12 months appear together, back to back, in the front of the planner)
- 92 lined pages (all blank pages begin after the last month—December—and continue thru the end of the planner)
- yearly overview for next year with a notes section at the bottom
- quote on the last page
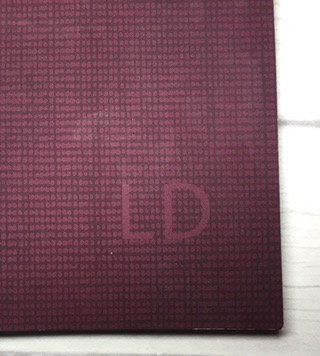
As part of the promotion that was going on at the time, I received a free 2-pack of stick-on pockets (to stick on the front and back covers), and a planner band to help keep it closed. I chose to personalize it with the initials of my blog and my favorite color, of course! The cover is a medium-thick, smooth cardstock but it’s a magnet for fingerprints and the paper is somewhat heavy so it should be good for most pens. Because it’s a bound planner, you’ll need to bend the book open around the spine to coax it to lay flat so if this is a pet peeve of yours, you might not like this planner. I also have some concerns as to how durable the cover will be after being thrown around all year—it’s already a little worn from lightly handling it; we’ll just have to wait and see.
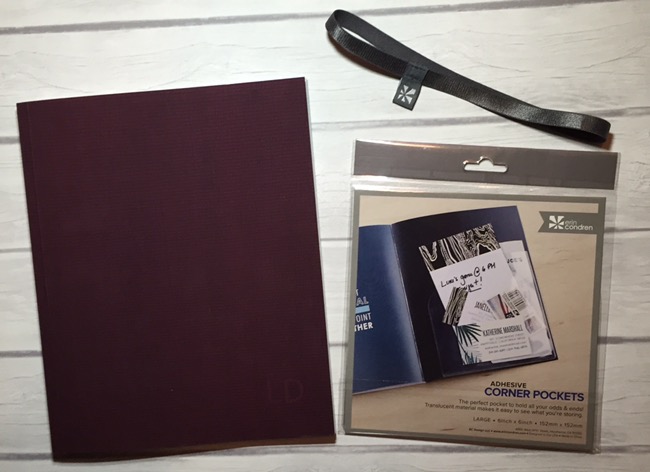
- Monthly Deluxe Planner ($30) – This planner has some great extra pages and is sturdier than the Monthly Planner so I decided to order it as well for comparison but ultimately I knew this would be the one I’d use. Below is a brief description of the planner:
- coil planner available in 2 sizes (7″ x 9″ or 8.5″ x 11″—I chose the smaller size); choice of coil in platinum, gold, rose gold, or black (last 3 coil choices are an additional cost)
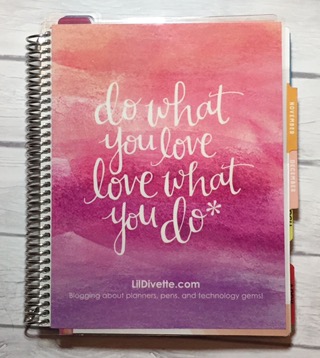
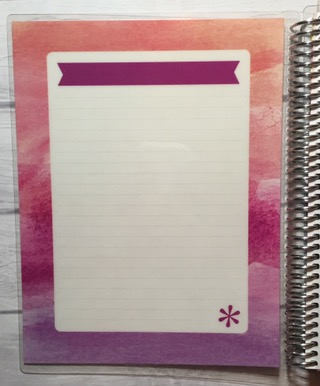
- thick, laminated removable covers that can be personalized with a name, initials, year, or saying; cover pattern choices are available from a large library of designs and color choices (some customizations are at an additional cost); the inside of the covers can also be used as a dry erase board though I highly recommend using wet erase markers instead so your writing doesn’t smudge easily
- lots of pages with quotes throughout the planner
- yearly overview with a notes section at the bottom
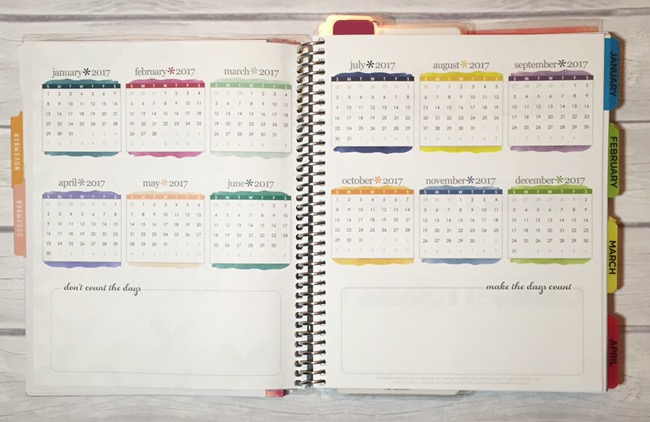
- blank dashboard with 12 boxes across two pages for forward planning, use as a perpetual calendar, project/goal planning, etc.
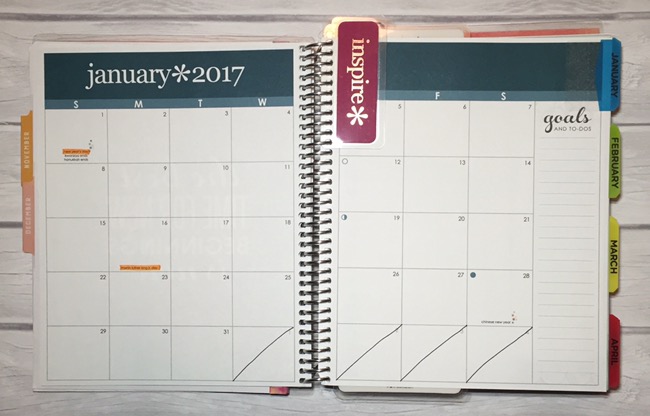
- month-on-2-page layouts for the whole year with a column for monthly tasks/goals available in your choice of a neutral or color palette (I chose color)
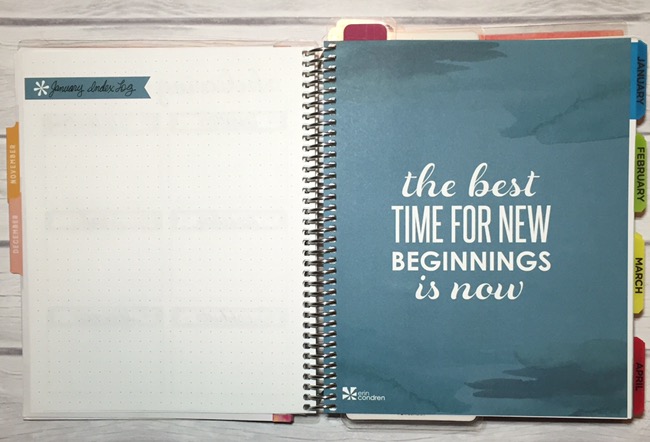
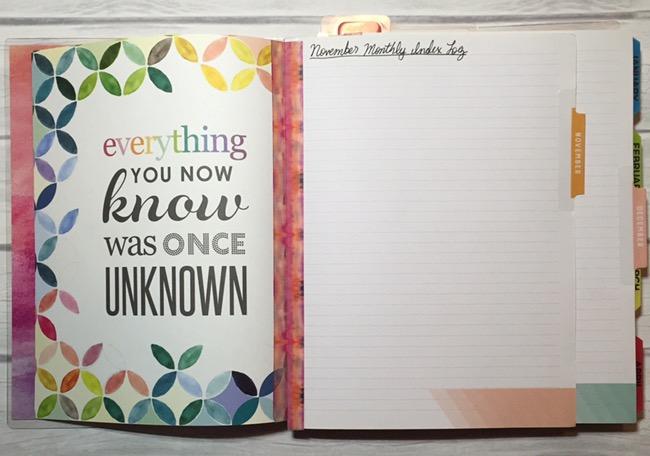
- before every month, there is a blank dotted page on the left and a quote on the page on the right (I’ll be using the blank dotted page for my monthly index log)
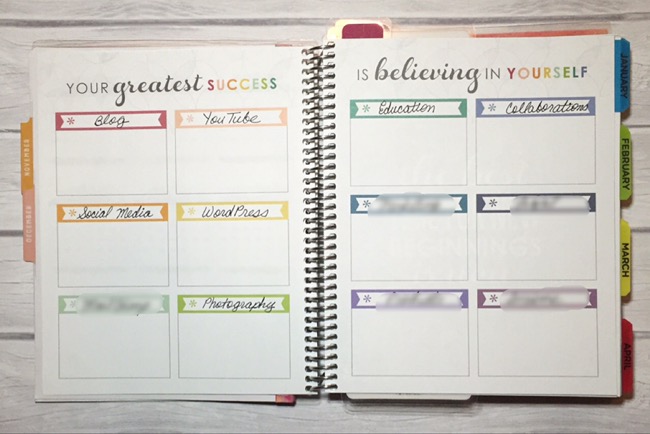
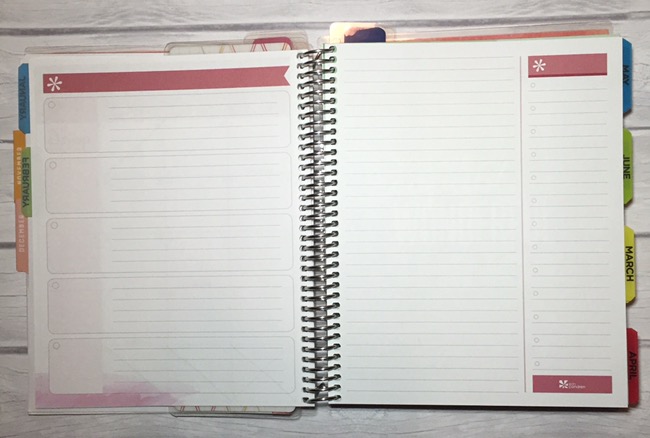
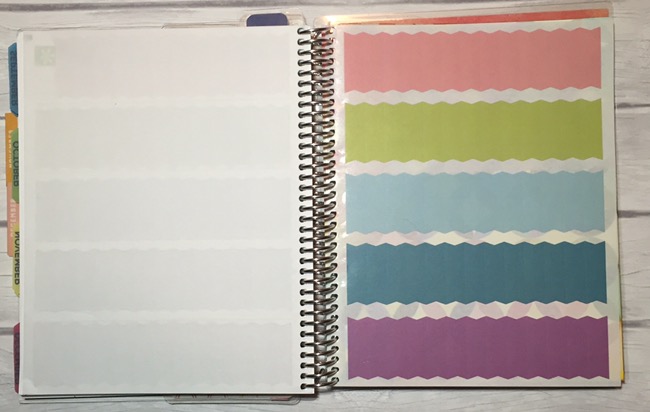
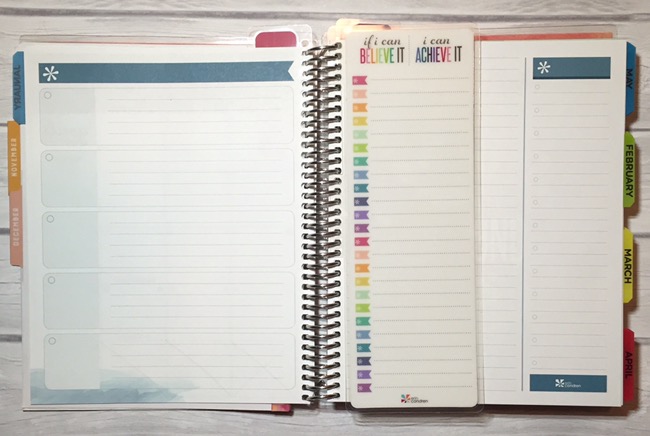
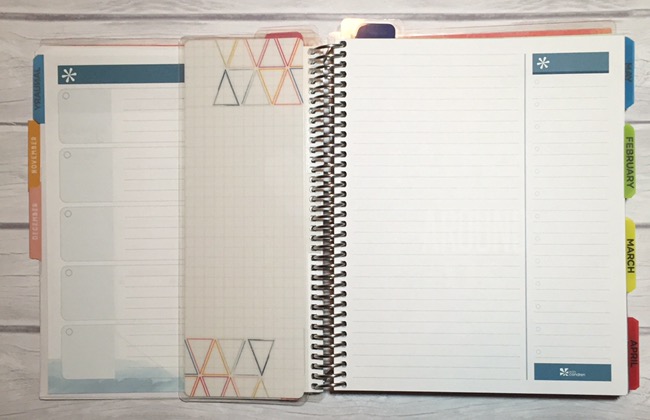
- after every month are special ‘functional task list’ pages that are perfect for project and/or goal planning; on the left are 5 boxes stacked horizontally, each with 4 lines to track goals, projects, tasks, or whatever you like; on the right is a layout where the inner 2/3 of the page is lined while the outer 1/3 is a bulleted checklist
- yearly overview for next year with a notes section at the bottom
- 40 lined pages; for an extra $5, you can increase it to 80 lined pages (I chose the upgrade); my plan is to condense the information from the multiple booklets I was carrying into this section
- 2 pages of flag stickers for a total of 90 stickers in all in a soft color palette
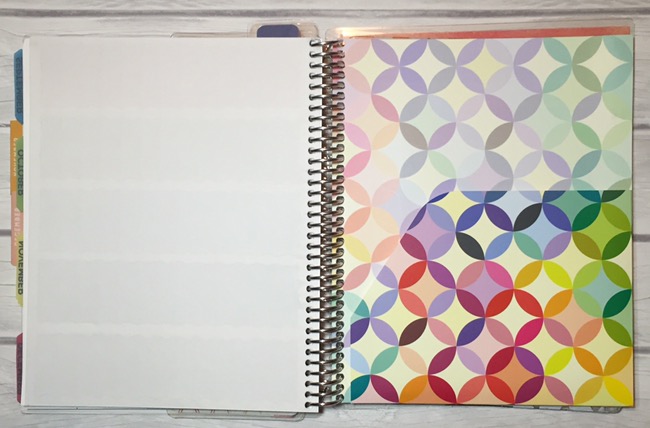
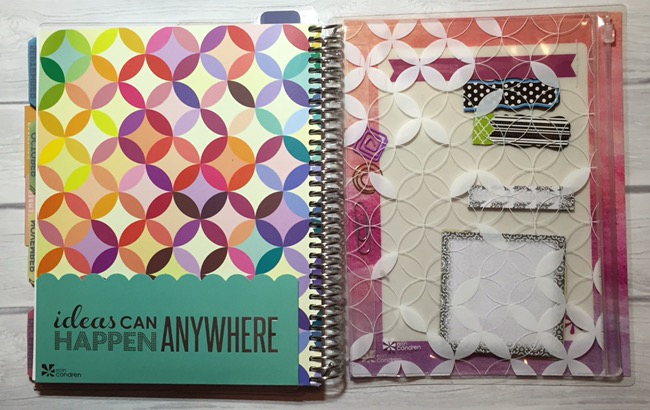
- a medium-thick cardstock dual folder with a larger pocket on the front and a shallower pocket on the back
- No monthly tabs – I added stick-on tabs that were pre-printed with the months of the year
- No zip pocket – I purchased the Erin Condren zip pocket which I attached with 2 coil clips I had in my stash (to carry clips, post-its, and other small items)
- No bookmark – I could’ve used anything—a paper clip, magnetic clip, etc.—but chose to purchase the mini Erin Condren bookmarks with motivational words on it because they were on sale, complimented the planner, and heck—they were so cute!
- No planner band – I had some old planner bands in my stash so I used one of those to keep my planner closed
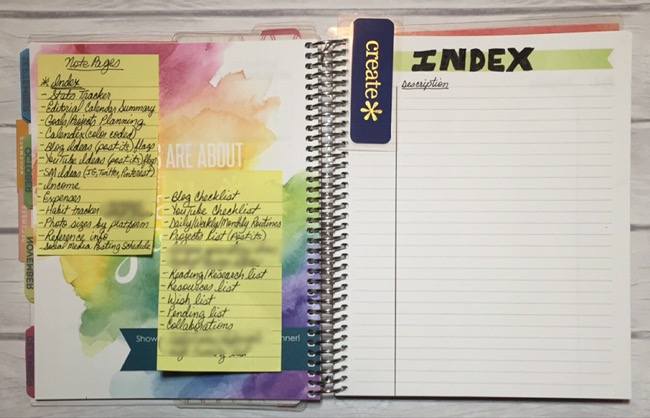
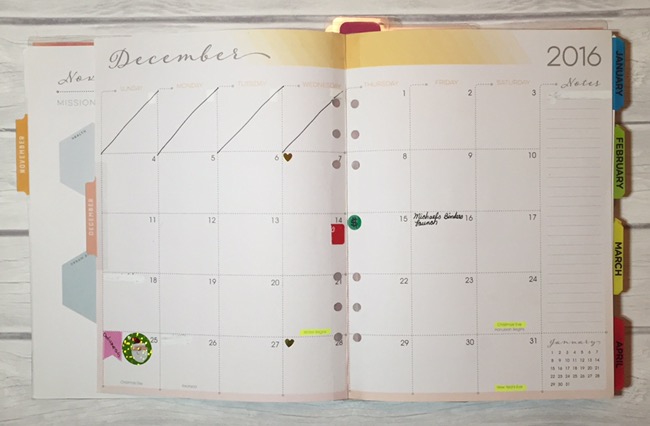
I was so excited to begin using this planner now that I did another big hack: I washi taped in the November and December monthly pages from my old 2016 Inkwell Press planner inserts on the facing quote pages in the front of the planner. I also created an ‘Index’ page (bullet journal style) on the first blank lined page in preparation for the page layouts I will be setting up for use. Finally, I decided to purchase a snap-in dashboard from Erin Condren—there was a discount when you bought 3 accessories at the time I purchased my planners—which has a checklist on one side and room for notes on the other that I thought would be perfect to clip in between the monthly ‘functional task list’ pages to capture tasks/notes ‘overflow’. One thing to note with the snap-in mini bookmarks and dashboards: you have to do it carefully, slowly, and intentionally otherwise the ‘teeth’ will bend and get damaged easily. Not sure if this is an issue with these products or just snap-ins in general that are made for coil binders but it can be a source of minor frustration so I wanted to point it out. On the other hand, if anyone knows the ‘secret’ to snapping these items in and out more easily, please let me know!
Summary
Once again, I hope you find it helpful to read about my thought process when deciding which planner to use for a specific life area. As I’ve said before, I’m a big believer that if you understand how your brain works and processes information as well as your planning style then you’ll have a much easier time CHOOSING the system that will work best for you and not the other way around. Look out for part 3 of this blogpost series where I share my next planner choice for another life area to use next year.
So what about you—have you decided what planner(s) you’re using next year? What is your thought process when selecting a planner? Do you also blog, have a YouTube channel, or a ‘side hustle’ that you manage differently than your other life areas? What is your planning style for that area? Please share in the comments below and don’t forget to like, share, and subscribe.
Until next time, 🙂
♥ LilD ♥

2 Comments on Blog Planner Choice for Next Year – Part 2