Welcome back for Part 3 of my 2017 planner setups blogpost series! In Part 1, I shared my Blog (Content) Planner setup and in Part 2, I shared my Work Bullet Journal setup including a ‘functional plan with me’. This week, I’m so excited to share with you my on-the-go planner setup which has quickly become my daily planner serving a dual purpose. Overall, this is an entirely new planner AND layout for me which has once again shown me that I shouldn’t be afraid to try something completely different and out of my comfort zone. So what am I currently obsessed with?
If you would be so kind to indulge me, I’ll tell you how it all began. 🙂
My Hobonichi Obsession
(*Note: Included below are some affiliate/referral links to help you find items I’ve purchased, use and love!)
It all started last year when I purchased an A6 Hobonichi Techo—read more about it here. This little book was truly amazing: small with a generous spread, simple and efficient, and the paper—that Tomoe River paper! As a fountain pen user and art enthusiast who loves to watercolor, this book was an incredible find. So of course, I became curious about the other Hobonichi books.
Fast forward to present day. My ‘tried and true’ layout for my main planner—to manage personal, family, fitness, and home—is a week-on-2-pages, vertical layout with the weekends separated into their own columns, and an extra column for weekly tasks/notes. I have used this layout successfully for the last few years in both a personal-size and A5-size. The few times that I’ve deviated from this layout to try something new, have always ended in failure. At the end of 2016, I started to hear a lot of ‘buzz’ around the Hobonichi Weeks so like any plannernerd, I decided to check it out especially since I already loved the Hobonichi Techo (which I’m also using as an art journal for 2017!). It contained a lot of my favorite layouts–yearly overviews, month-on-2-pages, a weekly layout with room for notes/tasks and best of all, it had 72 grid note pages in the back. All this in a portable little book? I was sold!
Hobonichi Weeks – Yay or Nay for 2017?
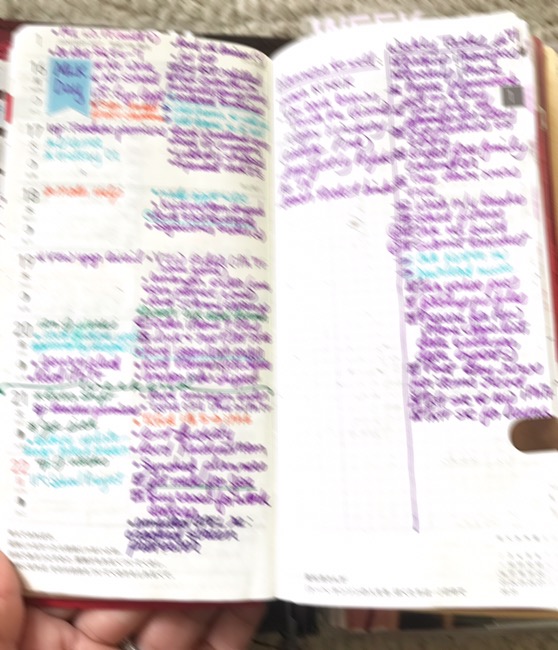
I started by first giving the Hobonichi Weeks a ‘test run’ for the entire month of December 2016. I figured this would be enough time to determine whether this setup would work or fail. Well, it worked perfectly! I had the weekly overview I needed but in a horizontal format. This was a primary concern because I prefer vertical layouts but I quickly learned that if I extended the day to the opposite grid note page, I could easily capture any overflow. That said, I divided the opposite grid page in half so I could track weekly tasks, capture notes, and even jot down quotes. I also tried to use small stickers and thin washi tape to separate sections and highlight important events but I discovered that I preferred to leave as much room as possible for appointments, notes, and tasks. As a result, this has evolved into where I do my ‘messy planning’, using my color coding system to help differentiate important information—read more about my color coding system here.
December came and went and I knew this would be my 2017 setup. I loved how portable it was, how much room I had on the weekly spreads, and especially loved all the extra pages I had in the back of the book. As 2017 approached, I also came up with 10 planner hacks to make the most of the Hobonichi Weeks which included getting 14 additional blank pages for notes!–check out my video below.
Multiple Planner System
Prior to getting the Hobonichi Weeks, I had purchased the Inkwell Press Classic A5 size inserts (get $10 off your first $50 purchase!) to use as my primary planner. This year, however, I was a bit disappointed because the A5 inserts were modified for 2017: the weekends were now combined into one column and the extra weekly tasks/notes column was completely removed. Sigh. 🙁 As a result, I came to rely more and more on my Hobonichi Weeks on a daily basis and decided that I would instead use my A5 inserts to record my weekly plans ‘after the fact’ as a means of keeping a permanent record—especially since the Inkwell Press inserts had a lot more room to hold all the information captured throughout the week. That’s when I got the idea to buy a SECOND Hobonichi Weeks to serve as my on-the-go blog/YouTube/content planner; let me explain.
If you read Part 1 of my 2017 planner setups, you know that I’m using the Erin Condren Deluxe Monthly Planner as my primary Blog (Content) planner. This planner is working out great for managing my blog/YouTube/content projects but I found that it was a bit too large to carry around. In addition, trying to schedule blog/YouTube tasks throughout the week in my personal Hobonichi Weeks planner—e.g. draft/edit/publish blogpost, film/edit/upload videos, update site plugins, etc.—was taking up a lot of valuable room on my weekly pages. By having a separate Hobonichi Weeks dedicated solely to blog/YouTube/content tasks and notes, it freed up a lot of space on my personal weekly pages and gave me plenty of room to capture additional notes and reference information.
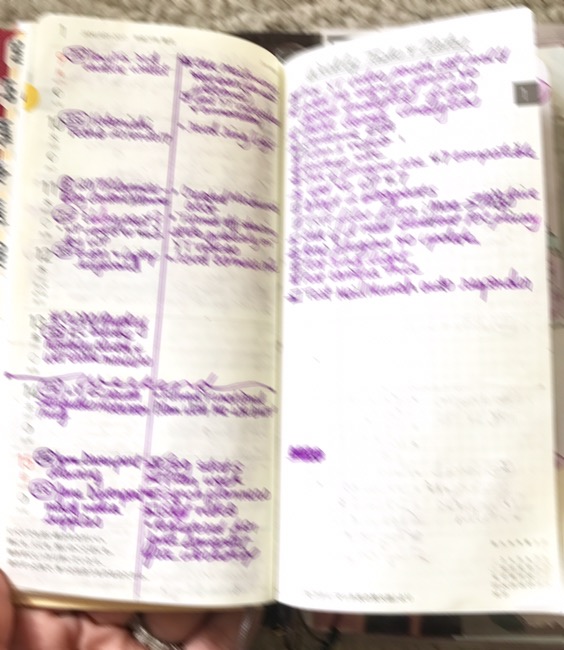
It was also a great way of capturing ideas on-the-go thanks to those 72 (plus 14 additional!) blank pages in the back and thanks to post-it flags, it allowed me to keep track and plan my editorial schedule on-the-go as well!
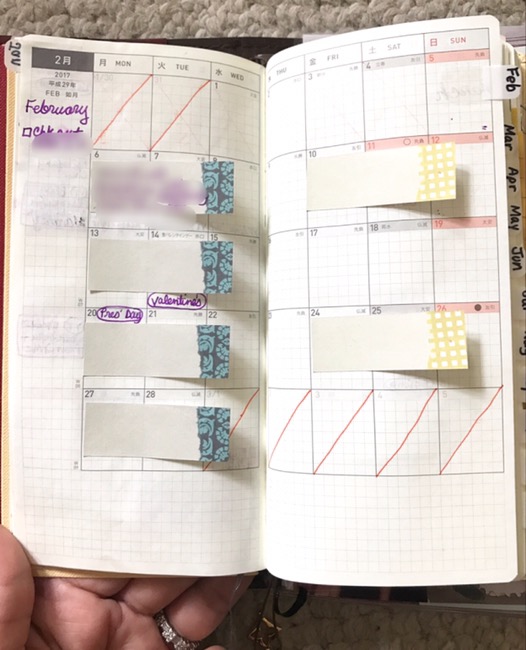
Many of the hacks that I applied to my personal Hobonichi Weeks, I also applied to my second Hobonichi Weeks and after using this setup for the past 2 months, I feel like I’ve reached a level of ‘planner peace’—yeah, I said it! My on-the-go planner has since become my primary planner that I use on a daily basis. At the end of the week, I sync both Hobonichi Weeks planners with their larger size counterparts to ensure I’ve captured all the information I need for future planning.
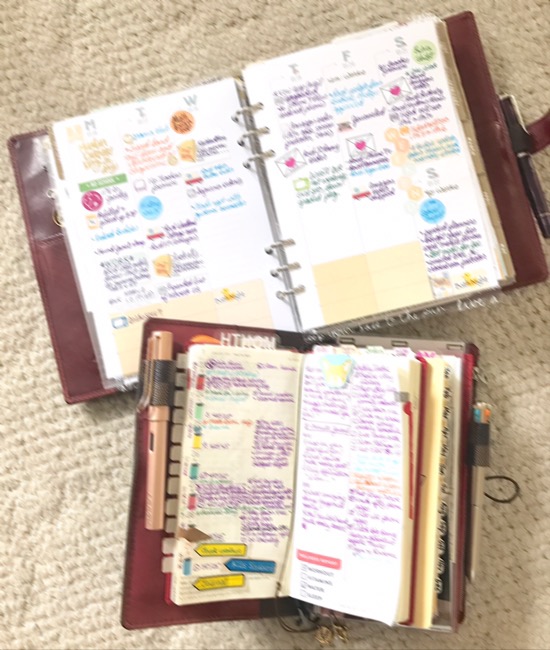
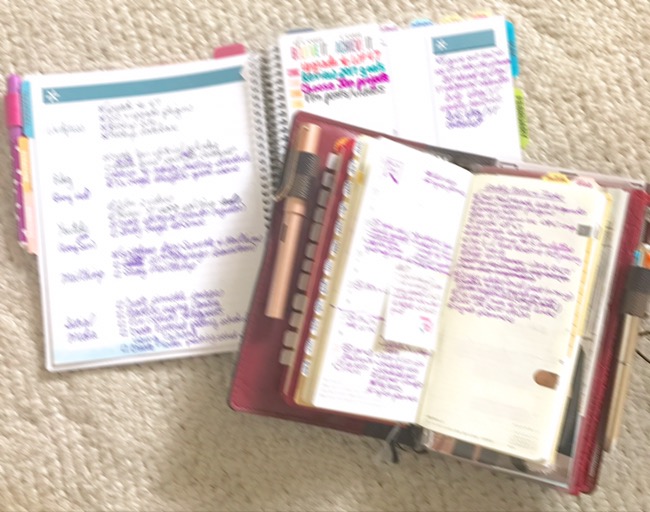
On-the-Go Planner & Supplies
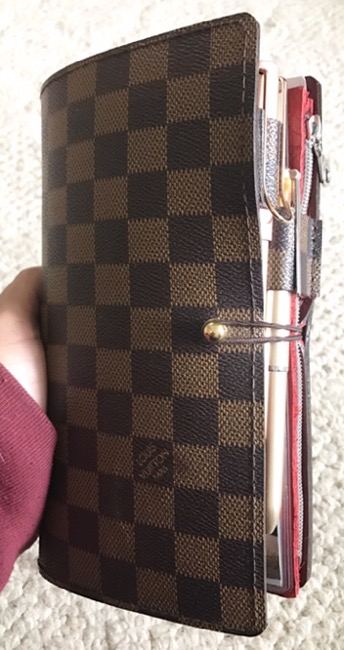
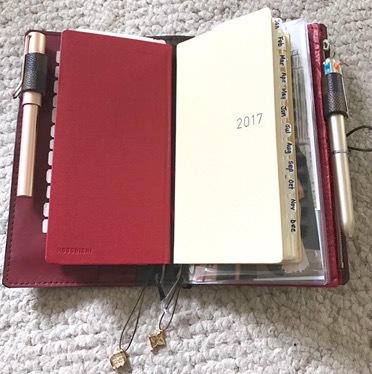
Both of my Hobonichi Weeks are housed in a standard size travelers notebook made by PaperFlowerDesignsStudio which I purchased during one of her amazing sales and I am totally OBSESSED with it—isn’t it gorgeous?
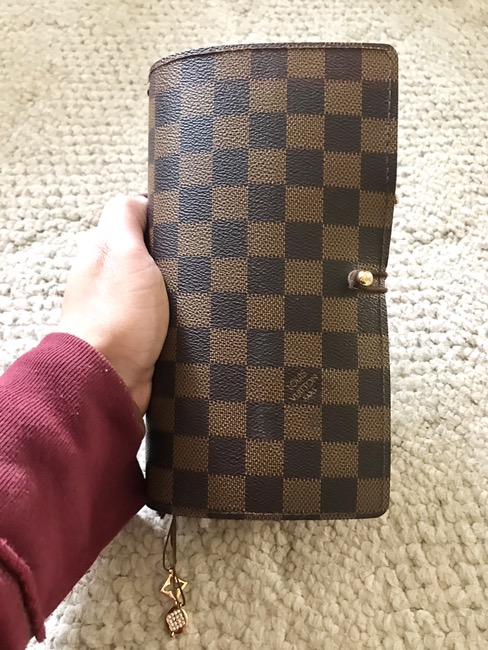
I requested two large pen loops to house larger pens like my Pilot Hi-Tech-C Coleto Lumio 4-color gel pen and Lamy LX Rose Gold fountain pen. The Hobonichi Weeks are about a half inch smaller all around which helps make the pens—and any tabs—nestle nicely inside the cover so nothing sticks out and it closes just fine using the included strap.
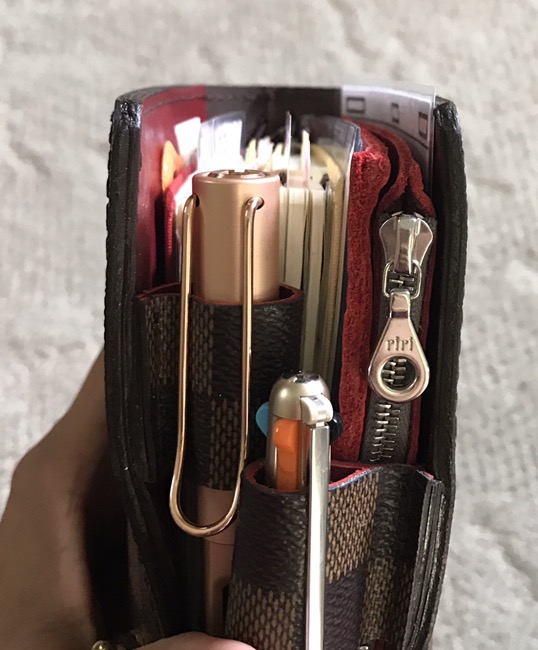
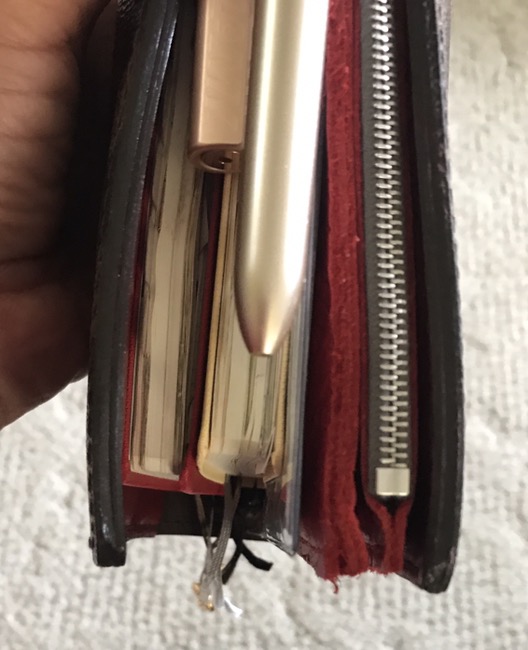
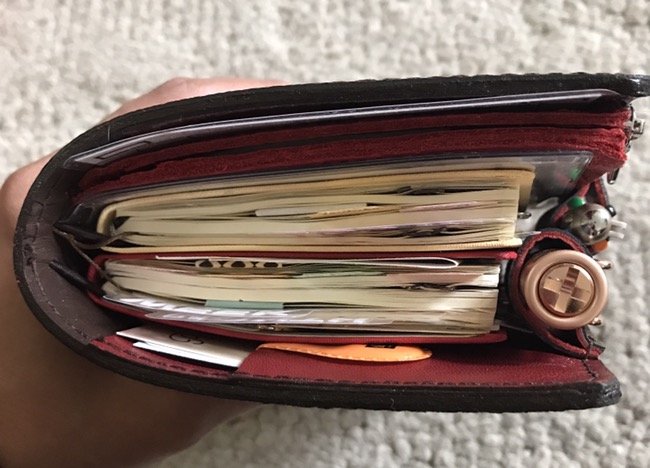
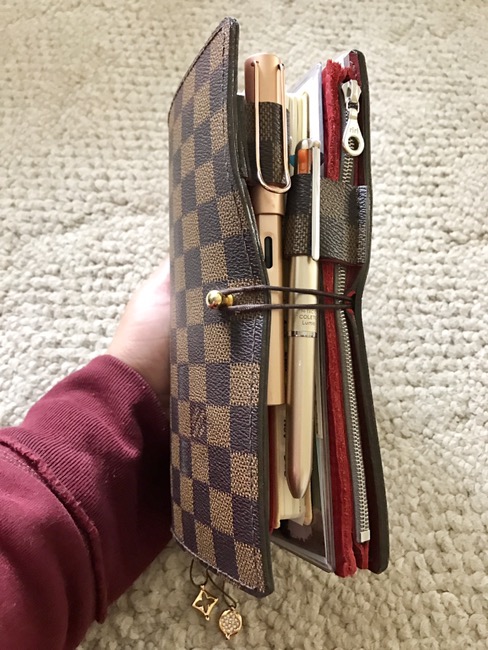
This lovely travelers notebook also has 3 card slots and a vertical slip pocket on the inside front cover as well as a secretarial pocket inside the back cover. Since it’s my on-the-go planner, I decided to add a zip pocket for small items and pocket change so I ordered the gorgeous FoxyFix Floral Wallet Couture leather insert in red to match the interior of the notebook cover.
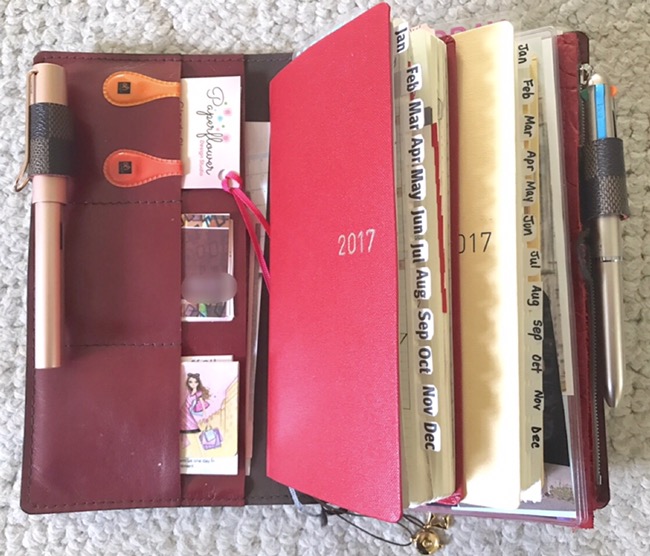
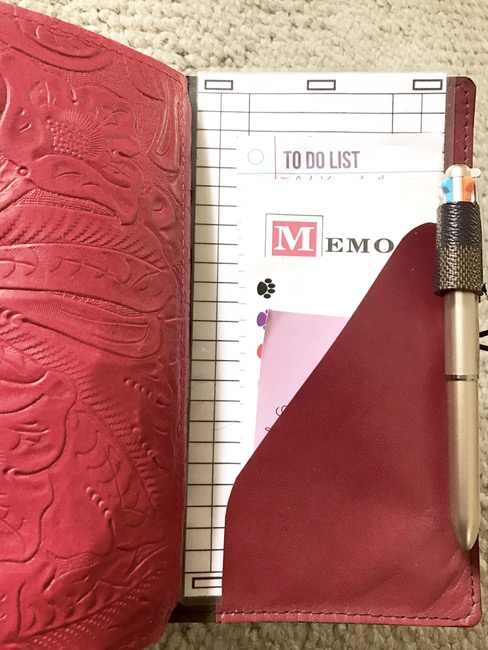
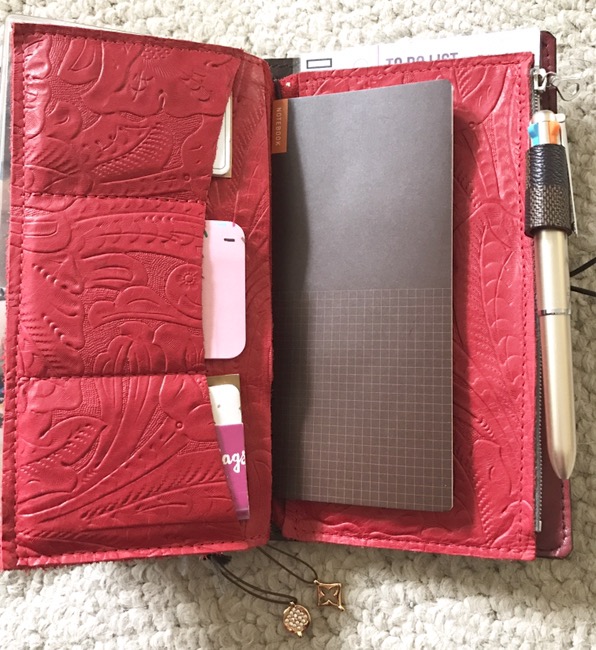
The travelers notebook came with 2 bookmarks which have lovely gold charms and the Hobonichi Weeks each have 2 fabric bookmarks which I use to mark key pages. However, I recently purchased a beautiful 3 piece set of bookmarks off of Etsy from the KaidensMomShops which I use to mark the current month and week in my personal Hobo Weeks and use the Today bookmark to mark the current week in my blog/YouTube/content Hobo Weeks. Aren’t they lovely?
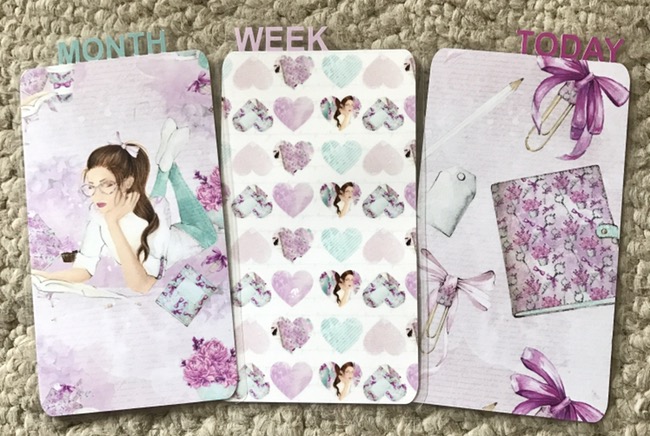
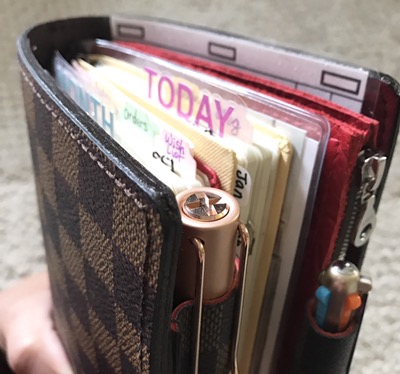
This has been an extremely functional setup, in a portable size, and so classically chic—I absolutely LOVE it!!!
Summary
So there you have it—my on-the-go planner setup. The biggest lesson here is to keep an open mind and not be afraid to try something new because it just might work out better than what you’ve used in the past. That’s not to say you should haphazardly change your planner setups abruptly and often but rather take your time to research and think carefully about how you can implement it into your daily routine so you can make a well thought out, calculated change. I spent the entire month of November 2016 thinking about the Hobonichi Weeks and brainstorming on paper how I would use the different layouts as part of my daily routine. Then I spent the entire month of December 2016 actually using it to see if it would work. By the time January 2017 rolled around, I was completely comfortable not only keeping it as part of my planner rotation but expanding it to include an on-the-go blog/content planner to supplement my main blog/content planner.
So what about you? Do you have an on-the-go planner? Have you used the Hobonichi Weeks planner? How do you have it setup? What are some of your favorite tips to get the most use out of your planner? Please share in the comments below and don’t forget to like, share, and subscribe!
Until next time, 🙂
♥ LilD ♥

1 Comment on 2017 Planners – On-the-Go Planner